

Year-Round Indoor Growing in California: Microgreens, Sprouts, and More

A few of the product links in this guide are affiliate links. If you buy through one, Ambitious Harvest may earn a small commission at no extra cost to you, which helps keep these guides free. We only point to gear we would use in our own Santa Cruz garden. As an Amazon Associate, we earn from Read our full disclosure.
Indoor growing in California is not a substitute for outdoor gardening; it is the complement that fills your kitchen with fresh greens during every season, including the gaps between harvests. According to the UC Master Gardener Program, even in California's mild climate, strategic indoor growing extends the range of what you can harvest at any given time. In Santa Cruz, where coastal fog can limit summer crops and cool winters slow the garden, a simple indoor setup with microgreens, sprouts, and windowsill herbs ensures you always have something fresh and homegrown within arm's reach.
Why Should California Gardeners Bother with Indoor Growing?
It is a fair question. California's climate is the envy of gardeners across the country. In Santa Cruz, we can grow outdoors for 10 to 12 months of the year. Why dedicate counter space and effort to indoor growing?
The answer is not about replacing outdoor gardening. It is about filling specific gaps.
Gap 1: The winter slowdown. While Santa Cruz winters are mild (USDA Zone 9b to 10a), the shorter days and cooler temperatures do slow growth significantly from November through February. Cool-season crops are in the ground, but they take longer to mature. A tray of radish microgreens fills your salad bowl in 6 days while your outdoor lettuce takes 45 to 60 days.
Gap 2: The fog season. Santa Cruz's marine fog layer, typically heaviest from June through August, can reduce sunlight and cool temperatures enough to slow warm-season crops. Tomatoes, peppers, and basil stall while the fog lingers. Indoors, your microgreens and sprouts are completely unaffected.
Gap 3: The transition periods. The weeks between pulling spent summer crops and establishing fall plantings (typically September and October) and the weeks between winter crops ending and spring crops establishing (March and April) are natural gaps. Indoor growing bridges them seamlessly.
Gap 4: Space limitations. Not everyone has a garden bed. Apartment and condo dwellers in Santa Cruz can grow a surprising amount of food on a kitchen counter, a windowsill, or a small shelving unit. Microgreens, sprouts, and herbs require minimal space.
Gap 5: Variety. Some things are simply easier to grow indoors. Fresh sprouts, microgreen mixes, and tender herbs are more convenient to grow on the counter than in the garden, regardless of how much outdoor space you have.
The goal is an integrated growing strategy where indoor and outdoor production work together to provide the widest range of fresh food throughout the year.
What Equipment Do You Need for Year-Round Indoor Growing?
You do not need an elaborate setup. Here is the essential equipment, organized from basic to more complete.
The Basics (Under $50)
Growing trays. Standard 10x20-inch nursery trays with and without drainage holes. These serve for microgreens and seed starting. A set of 4 to 6 trays allows for rotation. Cost: $10 to $20 for a set.
Mason jars with sprouting lids. Quart-size wide-mouth mason jars fitted with mesh sprouting lids for growing sprouts. Two or three jars allows you to stagger batches. Cost: $10 to $15 for a set of jars and lids.
Seed-starting mix. A fine-textured, well-draining mix for microgreens. A standard bag lasts through many trays. Cost: $5 to $10.
Spray bottle. For misting seeds during the blackout phase of microgreen growing. Cost: $2 to $5.
Seeds. A starter collection of 3 to 4 microgreen varieties (radish, sunflower, broccoli, pea) and 2 to 3 sprouting varieties (alfalfa, mung bean, lentil) will get you going. Cost: $15 to $25 for a basic collection.
This basic setup covers microgreens and sprouts and costs less than a dinner out.
The Enhanced Setup ($50 to $150)
LED grow light. A 2-foot or 4-foot LED shop light or dedicated grow light transforms your indoor growing, especially during foggy months or if you lack south-facing windows. According to UC Master Gardeners, red and blue light spectrums are essential for plant growth, with red light aiding seed germination and fruit production and blue light supporting chlorophyll production and strong stems. Cost: $20 to $40.
Timer. An outlet timer automates your light schedule (typically 12 to 16 hours per day). Cost: $5 to $10.
Small fan. Gentle air circulation prevents mold on microgreens and strengthens stems. Cost: $10 to $20.
Herb pots and saucers. Quality containers (6 to 8 inches) with drainage holes for windowsill herbs. The UC Master Gardeners of Sacramento County note that most herbs need at least six hours of bright light from a sunny window or 12 to 16 hours of supplemental LED light. Cost: $15 to $25 for a set of 3 to 4.
Seedling heat mat. Useful for starting warm-season seeds indoors before transplanting outdoors, and for growing temperature-sensitive varieties like basil microgreens during cooler months. Cost: $15 to $25.
The Dedicated Indoor Garden ($150 to $300)
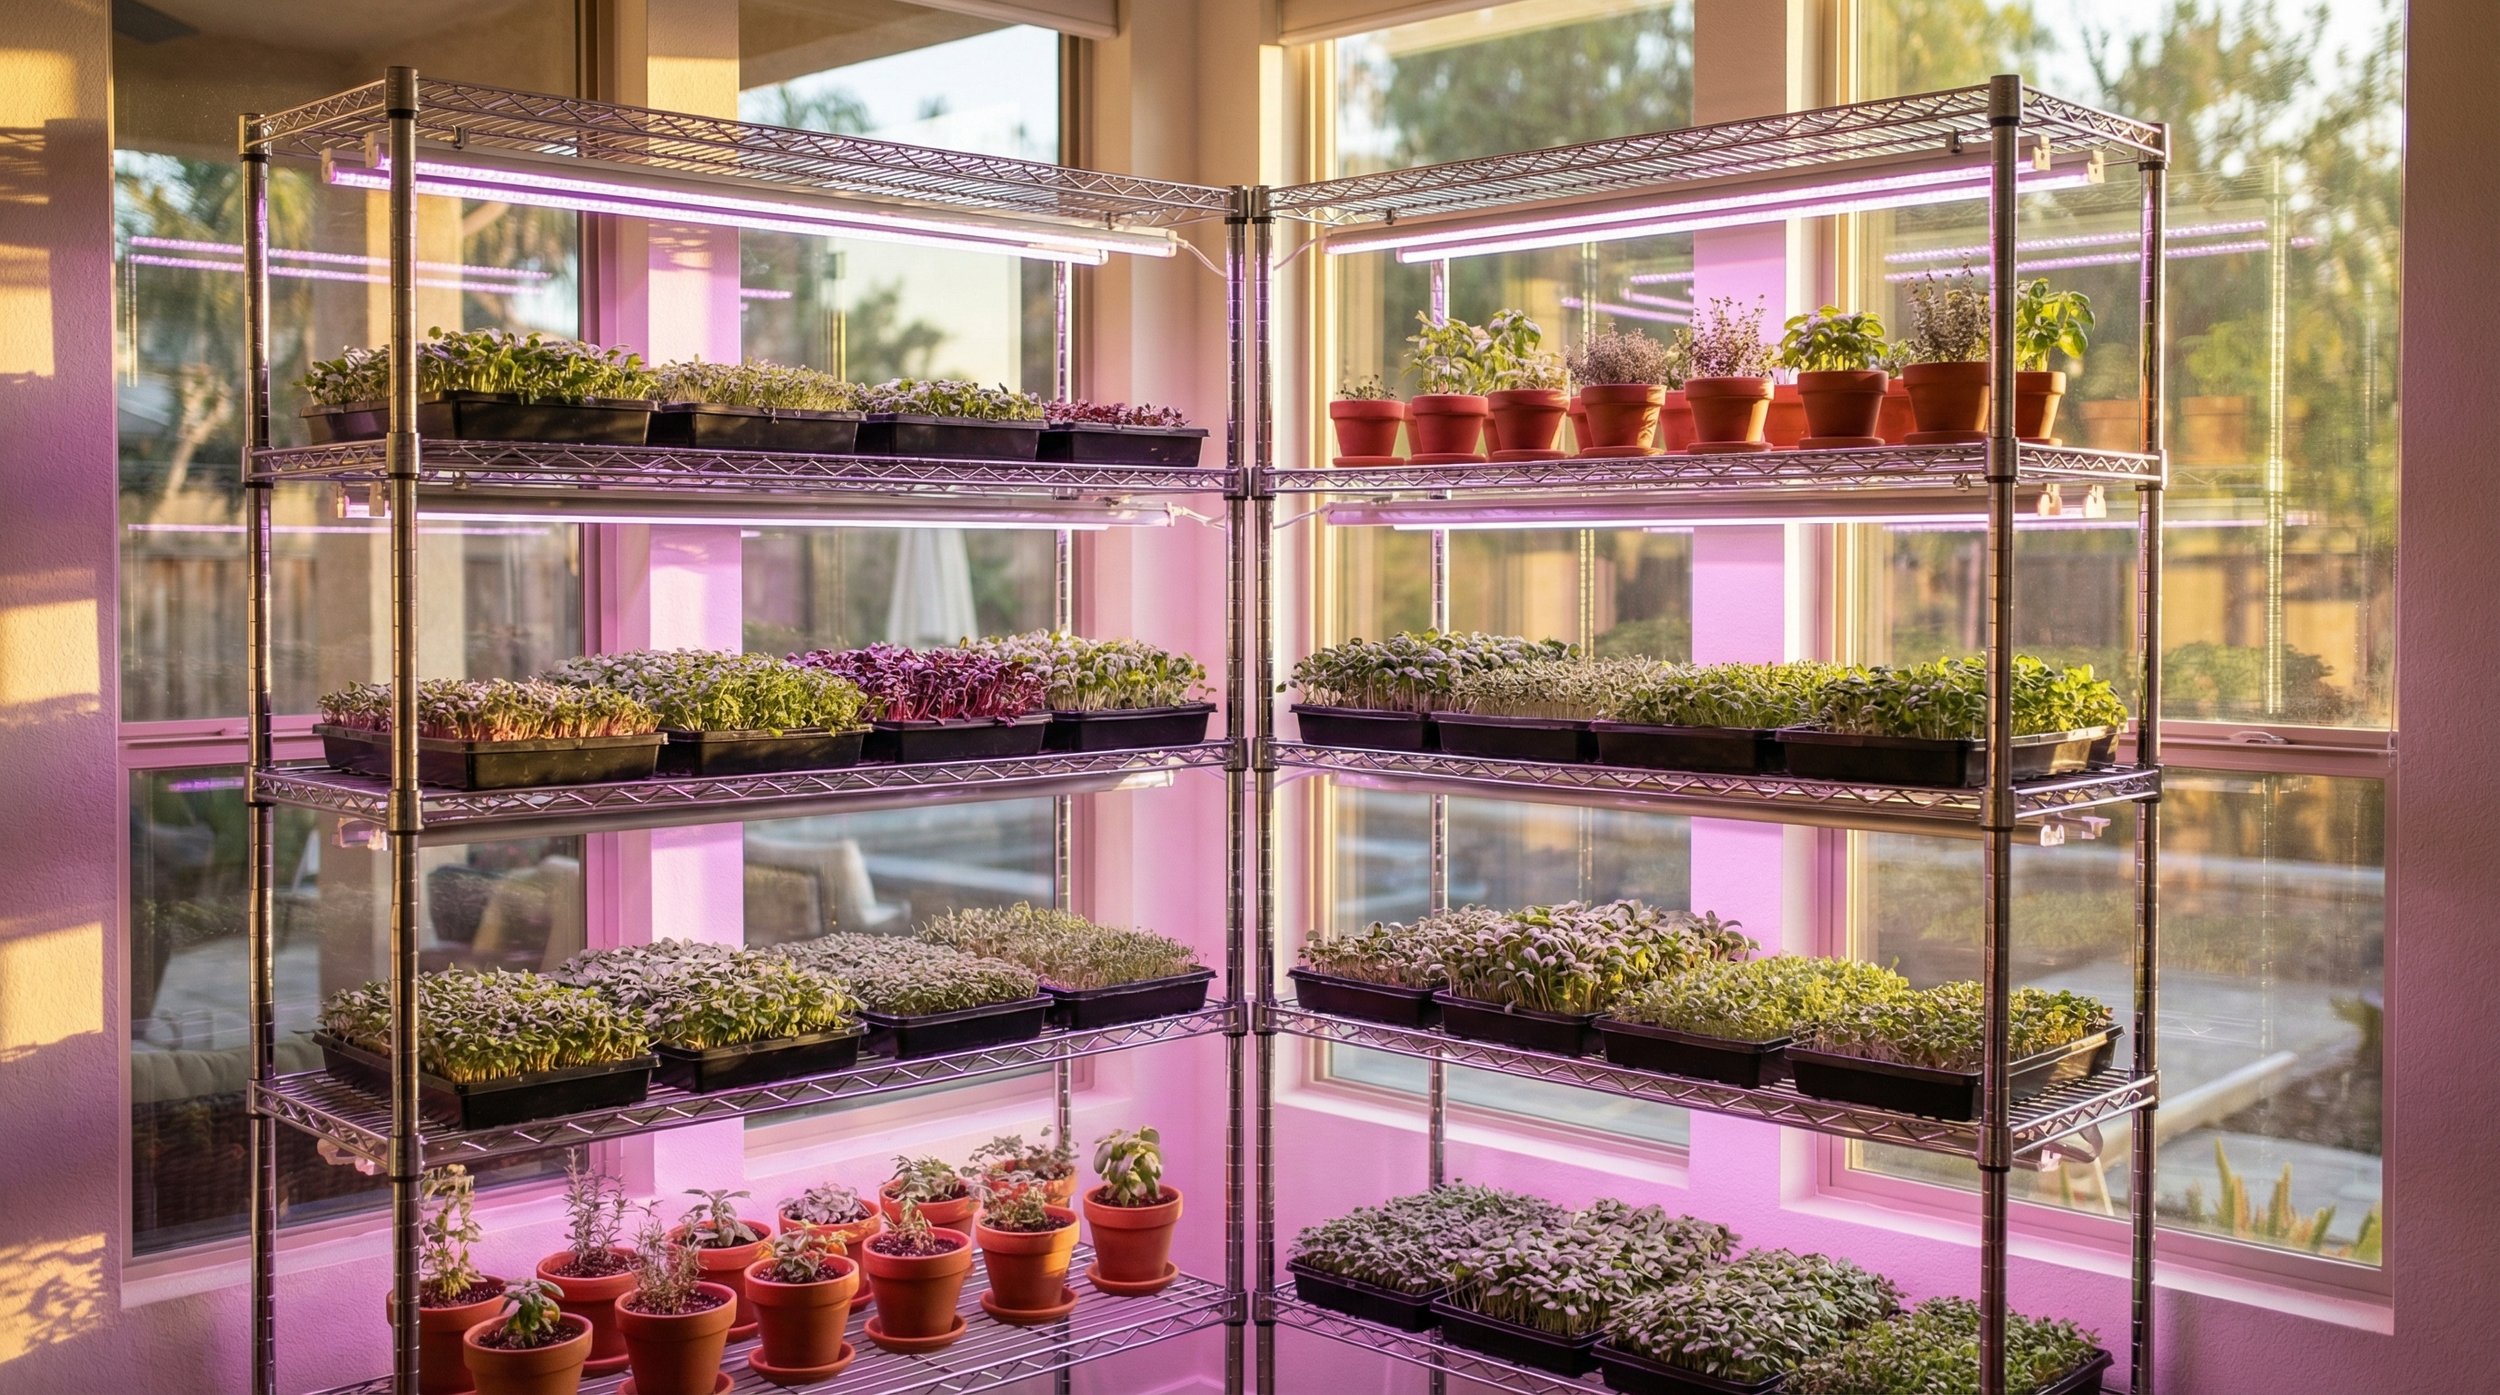
Wire shelving unit. A small 2 to 3-tier wire shelving unit (about 2 feet wide) creates a dedicated indoor growing station. Mount lights under each shelf for multi-level growing. This is the most space-efficient approach for serious indoor growers. Cost: $30 to $60.
Multiple grow lights. One per shelf level. Cost: $40 to $80 for 2 to 3 lights.
Quality potting supplies. Including perlite, vermiculite, and organic fertilizer for herbs and seed starting. Cost: $20 to $30.
Seed library. A broader collection of microgreen, sprouting, and herb seeds for year-round variety. Cost: $30 to $50.
The shelving setup is popular among Santa Cruz apartment gardeners who want maximum production from minimal floor space. A single 2-foot-wide shelving unit in a corner or closet can produce a tray of microgreens per week, house several herb pots, and serve as a seed-starting station in spring.
What Does a Monthly Indoor Growing Calendar Look Like for Santa Cruz?
Here is a month-by-month framework that integrates indoor growing with the outdoor garden cycle in Santa Cruz and coastal California.
January
Indoor focus: Microgreens and sprouts are your primary fresh greens source while outdoor cool-season crops grow slowly. Microgreens to grow: Radish, broccoli, sunflower, pea shoots. Sprouts to grow: Lentil, mung bean, alfalfa. Herbs: Maintain chives, parsley, and mint on the windowsill. Start cilantro from seed indoors (it prefers cool conditions). Seed starting: None yet. Too early for warm-season starts in most of coastal Santa Cruz. Outdoor connection: Harvest kale, chard, and lettuce from the garden as they mature; supplement with microgreens.
February
Indoor focus: Continue microgreen and sprout rotation. Begin planning spring seed starting. Microgreens to grow: Continue January varieties. Try kale and cabbage microgreens for variety. Sprouts to grow: Continue rotation. Try broccoli sprouts. Herbs: Continue maintaining windowsill herbs. Start basil from seed indoors under a grow light if you want transplants ready for late spring. Seed starting: Late February, start tomato and pepper seeds indoors under grow lights or on a heat mat. These need 6 to 8 weeks indoors before transplanting. Outdoor connection: Plant peas and fava beans outdoors. Indoor microgreens bridge the gap until spring harvests begin.
March
Indoor focus: Seed starting ramps up. Microgreen growing continues. Microgreens to grow: Full rotation. Longer days improve natural light for indoor growing. Sprouts to grow: Continue rotation. Herbs: Start hardening off indoor herb plants for outdoor transition. Start new herb transplants for the outdoor garden. Seed starting: Tomatoes, peppers, eggplant, basil. Use grow lights and heat mats for warm-season starts. Outdoor connection: Cool-season garden is producing well. Plant outdoor lettuce, greens, and root vegetables. Indoor microgreens complement the outdoor harvest.
April
Indoor focus: Seed starting is the priority. Microgreen production can scale back as the outdoor garden fills in. Microgreens to grow: Maintain 1 to 2 trays per week for kitchen convenience. Sprouts to grow: Continue as desired. Herbs: Transition indoor herbs outdoors (harden off over 7 to 10 days). The outdoor herb garden becomes productive. Seed starting: Squash, cucumbers, melons, and additional warm-season crops. Harden off and transplant tomato and pepper starts. Outdoor connection: The spring garden is hitting its stride. Fresh greens are abundant outdoors.
May
Indoor focus: Minimal. The outdoor garden is the star. Microgreens to grow: Optional. A tray of radish or sunflower microgreens adds variety to spring salads. Sprouts to grow: Continue as desired for kitchen convenience. Herbs: Fully outdoors now. No indoor herb maintenance needed unless you want to keep a kitchen pot of mint or chives. Seed starting: Last round of warm-season succession planting. Outdoor connection: Full outdoor production. Strawberries, lettuce, peas, and early tomatoes in warmer microclimates.
June
Indoor focus: Fog season begins. Indoor growing becomes relevant again for foggy days. Microgreens to grow: Resume regular production. Fog can slow outdoor crops; microgreens are unaffected. Sprouts to grow: Continue rotation. Herbs: Keep basil indoors near a sunny window or under a grow light. Outdoor basil may struggle in heavy fog. Seed starting: None. Outdoor connection: Summer garden is establishing. Fog may slow tomato ripening on the westside. Indoor microgreens keep fresh greens flowing.
July
Indoor focus: Peak fog season in Santa Cruz. Indoor growing provides consistency. Microgreens to grow: Full rotation. This is a great month to experiment with new varieties. Sprouts to grow: Continue rotation. Herbs: Maintain indoor basil under a grow light. Other herbs can stay outdoors. Seed starting: Start fall brassica seeds indoors (broccoli, cauliflower, cabbage) for late-summer transplanting. Outdoor connection: Fog-tolerant crops (lettuce, greens, cool-season herbs) continue outdoors. Warm-season crops may stall until fog lifts.
August
Indoor focus: Fog typically begins to ease. Indoor growing remains useful. Microgreens to grow: Continue 1 to 2 trays per week. Sprouts to grow: Continue rotation. Herbs: Indoor basil can transition outdoors as fog lifts and temperatures warm. Seed starting: Continue fall brassica starts. Start fall lettuce and greens indoors. Outdoor connection: Tomatoes and peppers begin ripening as fog clears. The outdoor garden enters its most productive phase.
September
Indoor focus: Transition month. Start planning fall indoor production. Microgreens to grow: Resume regular production to bridge the summer-to-fall garden transition. Sprouts to grow: Continue rotation. Herbs: Pot up rosemary, thyme, or sage from the outdoor garden to bring indoors before winter. Seed starting: Start cool-season crops for fall planting: lettuce, spinach, kale, chard. Outdoor connection: Harvest summer crops. Clear beds and plant fall vegetables. Indoor microgreens bridge the transition.
October
Indoor focus: Indoor growing ramps up as outdoor garden transitions to cool-season mode. Microgreens to grow: Full rotation. Focus on brassica varieties that complement fall cooking. Sprouts to grow: Lentil and mung bean sprouts pair well with fall soups and stews. Herbs: Bring potted herbs indoors before nighttime temperatures drop. Establish windowsill herb garden for winter. Seed starting: Plant cover crops outdoors. No significant indoor seed starting. Outdoor connection: Fall garden is establishing. Root vegetables, brassicas, and greens are growing but not yet ready to harvest.
November
Indoor focus: Indoor growing becomes your primary source of quick fresh greens. Microgreens to grow: Full rotation. Radish, broccoli, and pea shoots are especially useful now. Sprouts to grow: Continue rotation. Warm sprouts in soups and stir-fries are especially welcome. Herbs: Maintain windowsill herbs. Chives, parsley, and mint continue producing. Seed starting: None. Outdoor connection: Cool-season garden is growing slowly. Kale, chard, and lettuce produce, but slowly. Indoor microgreens supplement.
December
Indoor focus: Peak indoor growing season. Microgreens and sprouts provide daily fresh greens. Microgreens to grow: Full rotation. Consider growing colorful varieties (red amaranth, red cabbage) for holiday meals. Sprouts to grow: Continue rotation. Herbs: Maintain windowsill herbs for holiday cooking. Seed starting: None. Outdoor connection: Outdoor garden is in maintenance mode. Harvest winter greens as available. Indoor growing carries the fresh greens supply.
How Do You Manage Space for Indoor Growing in a Small Home?
Space is often the biggest practical constraint for indoor growing, especially in Santa Cruz where housing can be compact. Here are proven space-management strategies.
Vertical shelving. A small wire shelving unit (18 to 24 inches wide, 3 to 4 tiers) occupies about 2 square feet of floor space and provides multiple growing levels. This is the single most effective space-saving approach for dedicated indoor growers.
Window shelf extensions. Narrow shelves mounted in or across a window frame expand your windowsill growing capacity without taking up counter or floor space. These work well for herbs and small microgreen trays.
Rotating station. Keep your growing station small but active. One microgreen tray in active growth, one in blackout, and one freshly harvested (ready for composting and replanting) is a simple three-tray rotation that takes up about 2 square feet of counter space.
Use the kitchen. Sprouting jars sit naturally on a kitchen counter or windowsill. They take up minimal space and benefit from the regular reminders to rinse that come from being in a frequently used room.
Seasonal adjustment. In spring and summer when the outdoor garden is productive, scale back indoor growing to just a tray or two of microgreens and a few herb pots. In fall and winter, expand to fill the gap. Your indoor growing footprint does not need to be constant.
How Do You Integrate Indoor and Outdoor Growing for Maximum Harvest?
The key to integration is thinking of your indoor space as an extension of your garden, not a separate project. Here are practical strategies.
Use indoor space for seed starting. In late winter and early spring, your grow light and heat mat serve as a nursery for tomato, pepper, and other warm-season seedlings that will eventually move outdoors. This is the most traditional use of indoor growing space in California, and it extends your growing season by 6 to 8 weeks.
Grow what the outdoor garden cannot. If your garden is full of tomatoes and squash in summer, grow the herbs and greens you are missing indoors. If your outdoor space is dedicated to winter brassicas, grow quick microgreens and sprouts indoors for variety.
Stagger harvests. When you know an outdoor crop is 3 to 4 weeks from harvest, start a microgreen tray of a similar flavor profile. By the time your outdoor lettuce or arugula is ready, you have already been eating indoor-grown microgreen versions for weeks.
Compost the connection. Spent microgreen trays (growing medium plus roots) make excellent additions to your outdoor compost bin. The coconut coir or peat-based growing medium adds carbon, and the root mass breaks down quickly. This creates a literal cycle between your indoor and outdoor growing spaces.
Save seeds both ways. If you grow herbs or greens outdoors that go to seed, save those seeds for microgreen production indoors. Conversely, seeds from your microgreen inventory can be planted outdoors as full-size crops.
What Are Common Mistakes with Year-Round Indoor Growing?
Overcomplicating the setup. The most common mistake is spending too much money and effort on equipment before mastering the basics. Start with one microgreen tray and one sprouting jar. Add equipment only as you develop consistent habits and confirm that indoor growing fits your routine.
Inconsistent attention. Microgreens and sprouts require small, regular actions (misting, rinsing, watering, harvesting). These are simple tasks but they need to happen on schedule. A forgotten sprouting jar can develop problems within a day. Build indoor growing into your daily kitchen routine.
Ignoring air circulation. Stagnant air is the primary cause of mold on microgreens. The UC Master Gardener Program recommends starting with fresh growing medium for each planting to prevent damping off and pathogen buildup. A small fan running on low near your growing area makes a significant difference. This is especially important in Santa Cruz homes during the damper months.
Overwatering herbs. Indoor herbs in Santa Cruz homes, where humidity can be moderate to high, need less water than most people think. Check soil moisture before watering every time.
Growing too much at once. A single tray of microgreens produces more than you might expect. For a household of two, one 10x20 tray per week is typically plenty. Start small and scale up only if you are actually consuming everything you grow.
Neglecting the outdoor garden. Indoor growing should complement, not replace, outdoor food production. In California's climate, the outdoor garden is always the primary growing space. Indoor growing fills gaps and adds convenience. Keep your energy and attention balanced between the two.
Frequently Asked Questions
How much counter or shelf space does a basic indoor growing setup require?
A basic setup with one microgreen tray, one or two sprouting jars, and a couple of herb pots requires about 3 to 4 square feet of space. A single 10x20-inch microgreen tray takes up less than 1.5 square feet. Sprouting jars fit easily on a windowsill or the corner of a counter. If you use a small wire shelving unit, you can fit an entire indoor growing operation into a 2-foot by 1.5-foot floor footprint with vertical stacking.
Is indoor growing worth the electricity cost for grow lights?
Yes. A typical LED grow light for a small indoor garden consumes 20 to 40 watts. Running it for 14 hours per day costs roughly $1 to $3 per month in electricity at California rates. The value of fresh microgreens, sprouts, and herbs you produce far exceeds this cost. A single tray of sunflower microgreens would cost $5 to $10 at a farmers market. (Microgreens also pack impressive nutritional density.) Energy-efficient LED lights make indoor growing extremely economical from a utility cost perspective.
Can you grow microgreens and start seeds on the same shelving unit?
Absolutely, and this is one of the most efficient uses of an indoor growing station. Seed starting typically happens from February through April, while microgreen growing is year-round. In late winter, dedicate your upper shelves (closest to the lights) to seed starting trays and use the lower shelf for microgreens. The rest of the year, all shelves can be used for microgreen and herb production. Just make sure each shelf has adequate light for its intended use.
Do you need different equipment for microgreens, sprouts, and herbs?
The equipment overlap is significant. Grow lights benefit all three. The growing trays used for microgreens can also be used for seed starting. The main unique equipment is: sprouting lids for mason jars (sprouts only), deeper pots with drainage for herbs, and a heat mat that is most useful for seed starting and warm-season microgreen varieties. Most of the core supplies, including spray bottles, growing medium, fans, and lights, serve multiple purposes.
How do you prevent indoor growing from attracting pests?
The most common indoor growing pest is the fungus gnat, a tiny fly that lays eggs in moist soil. Prevent them by not overwatering, allowing the top layer of soil in herb pots to dry between waterings, and using yellow sticky traps near your growing area. Microgreen trays, because they are in use for such a short time (7 to 14 days), rarely develop significant pest problems. Sprouts grown in jars are essentially pest-free. Good air circulation and clean equipment are your primary defenses. If you bring outdoor plants inside for winter, inspect them carefully for hitchhiking pests before placing them near your indoor growing station.
What is the best room in the house for an indoor growing station?
The kitchen is the most practical location for most people. Sprouting jars need twice-daily rinsing, which is easiest when they are near the sink. Microgreen trays are most likely to get harvested when they are visible during meal preparation. A south-facing kitchen window is ideal. If your kitchen lacks good light or counter space, any room with a south or west-facing window works well. Spare bedrooms, home offices, and enclosed porches are all suitable. Avoid garages (temperature swings) and bathrooms (excess humidity without light).
Start growing fresh food indoors today, no matter the season or the size of your space. Download our free California Growing Guide at ambitiousharvest.com/your-garden-toolkit for planting calendars, variety guides, and growing tips tailored to Santa Cruz and the Central Coast.