

Growing Microgreens at Home: Fresh Greens in 7-14 Days
A few of the product links in this guide are affiliate links. If you buy through one, Ambitious Harvest may earn a small commission at no extra cost to you, which helps keep these guides free. We only point to gear we would use in our own Santa Cruz garden. As an Amazon Associate, we earn from Read our full disclosure.
Microgreens are young vegetable and herb seedlings harvested just after the first true leaves appear, typically 7 to 14 days after planting. According to research from the University of Maryland, these tiny plants can contain 4 to 40 times more concentrated nutrients than their mature counterparts (Xiao et al., Journal of Agricultural and Food Chemistry, 2012). Whether you live in a Santa Cruz apartment with no yard or want to fill gaps in your winter garden, microgreens are one of the simplest, fastest, and most rewarding crops you can grow indoors.
What Exactly Are Microgreens and Why Should You Grow Them?
Microgreens fall between sprouts and baby greens in the plant growth timeline. Sprouts are germinated seeds eaten whole (root, seed, and all) within a few days of germination (learn more in our guide to growing sprouts safely). Microgreens, by contrast, are grown in soil or a growing medium, allowed to develop cotyledons (seed leaves) and often the first set of true leaves, and then harvested by snipping the stem just above the soil line. Baby greens are the next stage up, harvested later when leaves are more developed.
This distinction matters for a few reasons. First, microgreens are safer than sprouts because they grow in open air with good circulation rather than in the warm, moist, enclosed conditions that can harbor bacteria. The UC Davis Food Safety program notes that sprouts carry a higher food safety risk than microgreens due to the growing conditions required for sprouting.
Second, microgreens are remarkably nutrient-dense. That 2012 study from the University of Maryland and USDA tested 25 varieties of microgreens and found that the cotyledon leaves contained significantly higher concentrations of vitamins C, E, K, and beta-carotene compared to the mature leaves of the same plants. Red cabbage microgreens, for example, had about 6 times more vitamin C than mature red cabbage. UC Agriculture and Natural Resources confirms that microgreens contain roughly five times more vitamins and carotenoids than their mature counterparts.
For those of us in Santa Cruz and along the California coast, microgreens offer a practical advantage: you can grow them year-round regardless of outdoor conditions. Our full guide to year-round indoor growing in California covers additional crops that thrive inside. During our foggy summers or cool, rainy winters, a simple tray of microgreens on a kitchen counter or windowsill delivers fresh, homegrown greens in about a week.
What Equipment Do You Need to Get Started?
One of the best things about microgreens is how little you need. Here is your basic setup:
Growing trays. Standard 10x20-inch nursery trays work well. You need two types: one with drainage holes (the growing tray) and one without (the bottom tray, for watering from below). You can find these at any garden center in Santa Cruz, or repurpose shallow containers you already have. (If you enjoy growing in containers, see our broader guide to container gardening.) Clear bakery containers, takeout lids, and even aluminum baking pans with a few holes poked in the bottom will work for your first try.
Growing medium. You have several options. A fine-textured seed-starting mix is ideal. Coconut coir works well and is widely available at local garden centers. Avoid heavy garden soil, which can compact and hold too much moisture. Some growers use hemp mats or specialized microgreen pads, which are clean and convenient but add cost. For beginners, a basic organic seed-starting mix is the most forgiving choice.
Seeds. You need seeds sold specifically for microgreens or sprouting, which come in larger quantities than standard seed packets. Look for untreated seeds. Many California seed companies sell microgreen seed mixes, including local and regional suppliers. One ounce of seed typically plants one standard 10x20 tray, though density varies by variety.
Light. A south-facing window can work, especially during Santa Cruz's sunnier months from late spring through fall. If you are also growing herbs on your sill, our windowsill herb garden guide covers the best window orientations for California homes. However, for consistent results year-round, a basic LED shop light or a small grow light positioned 4 to 6 inches above your trays makes a significant difference. Microgreens are not demanding about light intensity, so you do not need expensive full-spectrum grow lights. A simple 2-foot or 4-foot LED shop light from any hardware store will do.
A spray bottle and a small fan. The spray bottle is for initial watering before seeds have rooted. A small fan provides gentle air circulation, which helps prevent mold, the most common problem new microgreen growers face.
What Are the Best Microgreen Varieties for Beginners?
If you are new to microgreens, start with varieties that germinate quickly, grow vigorously, and are forgiving of beginner mistakes. Here are five excellent starting points:
Sunflower. These are the crowd favorite for a reason. Sunflower microgreens are large, satisfying to grow, and have a mild nutty flavor. They take 8 to 12 days to harvest. Soak seeds for 8 to 12 hours before planting. Use black oil sunflower seeds (the same type sold as birdseed, but buy food-grade or untreated). These are hearty and hard to mess up.
Pea shoots. Another beginner-friendly variety with large seeds that are easy to handle. Pea shoot microgreens have a sweet, fresh pea flavor and grow quickly, ready in 8 to 14 days. Soak seeds for 8 to 12 hours before planting. They grow tall and produce impressive volume from a single tray.
Radish. Perhaps the fastest microgreen you can grow, often ready in just 5 to 7 days. Radish microgreens have a pleasant peppery kick. They germinate reliably and grow vigorously. No pre-soaking needed. The stems often develop attractive pink or purple coloring.
Broccoli. A popular choice for nutrition-focused growers. Broccoli microgreens are mild in flavor and easy to grow, ready in 8 to 12 days. Research from Johns Hopkins University has highlighted the concentration of sulforaphane, a beneficial compound, in broccoli sprouts and microgreens. No pre-soaking needed.
Wheatgrass. Technically harvested a bit later than most microgreens, wheatgrass is grown for juicing rather than eating whole. It is extremely easy to grow and ready for its first cutting in 7 to 10 days. Soak seeds for 8 to 12 hours before planting.
Once you have success with these, you can branch out into more flavorful varieties like basil, cilantro, mustard, and amaranth. For a deeper comparison of flavor, harvest time, and difficulty, see our guide to the best microgreen varieties to grow at home.
How Do You Grow Microgreens Step by Step?
Here is the complete process from seed to harvest.
Day 1: Planting
-
Prepare your seeds. If growing sunflower, pea, or wheatgrass, soak seeds in cool water for 8 to 12 hours (overnight works well). Smaller seeds like radish and broccoli do not need soaking.
-
Prepare your tray. Fill your growing tray (the one with drainage holes) with about 1 to 1.5 inches of moistened growing medium. The medium should be damp like a wrung-out sponge, not soggy. Level the surface gently with your hand or a piece of cardboard. Do not pack it down.
-
Sow your seeds. Spread seeds evenly and densely across the surface. For microgreens, you want much denser coverage than you would for a garden. Seeds should be close together but ideally not piled on top of each other. As a rough guide, for small seeds like broccoli or radish, aim for about 1 ounce per 10x20 tray. For larger seeds like sunflower and pea, use about 1.5 to 2 ounces per tray.
-
Mist thoroughly. Use your spray bottle to mist the seeds well. You want them in full contact with the moist growing medium.
-
Cover the tray. Place another tray (or a sheet of cardboard, a damp newspaper, or a plate) directly on top of the seeds. This creates a dark, humid environment that encourages germination. Some growers place a small weight on top to encourage the seeds to root down firmly. This "blackout" phase is important.
Days 2-4: Germination (Blackout Phase)
-
Keep covered. Leave the cover in place. Once daily, lift the cover, mist the seeds lightly if the surface looks dry, and replace the cover. You should start to see tiny white sprouts emerging within 1 to 3 days depending on the variety.
-
Check moisture. The growing medium should stay consistently moist but not waterlogged. If you see standing water in your bottom tray, pour it off.
Days 4-5: Uncover and Add Light
-
Remove the cover. When most seeds have germinated and you see pale yellow or white shoots pushing up (usually by day 3 to 5), remove the cover. The seedlings will look pale and leggy, which is completely normal.
-
Move to light. Place the tray under your grow light or in your brightest window. Within 24 to 48 hours, the pale seedlings will begin to green up as they start photosynthesizing. This transformation is one of the most satisfying parts of growing microgreens.
-
Switch to bottom watering. Once roots are established, water by pouring water into the bottom tray (the one without holes) and letting the growing medium wick it up. This keeps the leaves dry, which helps prevent mold. Water once or twice daily as needed.
Days 7-14: Growth and Harvest
-
Watch for true leaves. After the cotyledons (seed leaves) fully open and green up, you will start to see the first set of true leaves emerging from between them. Most microgreens are harvested at or just before this stage.
-
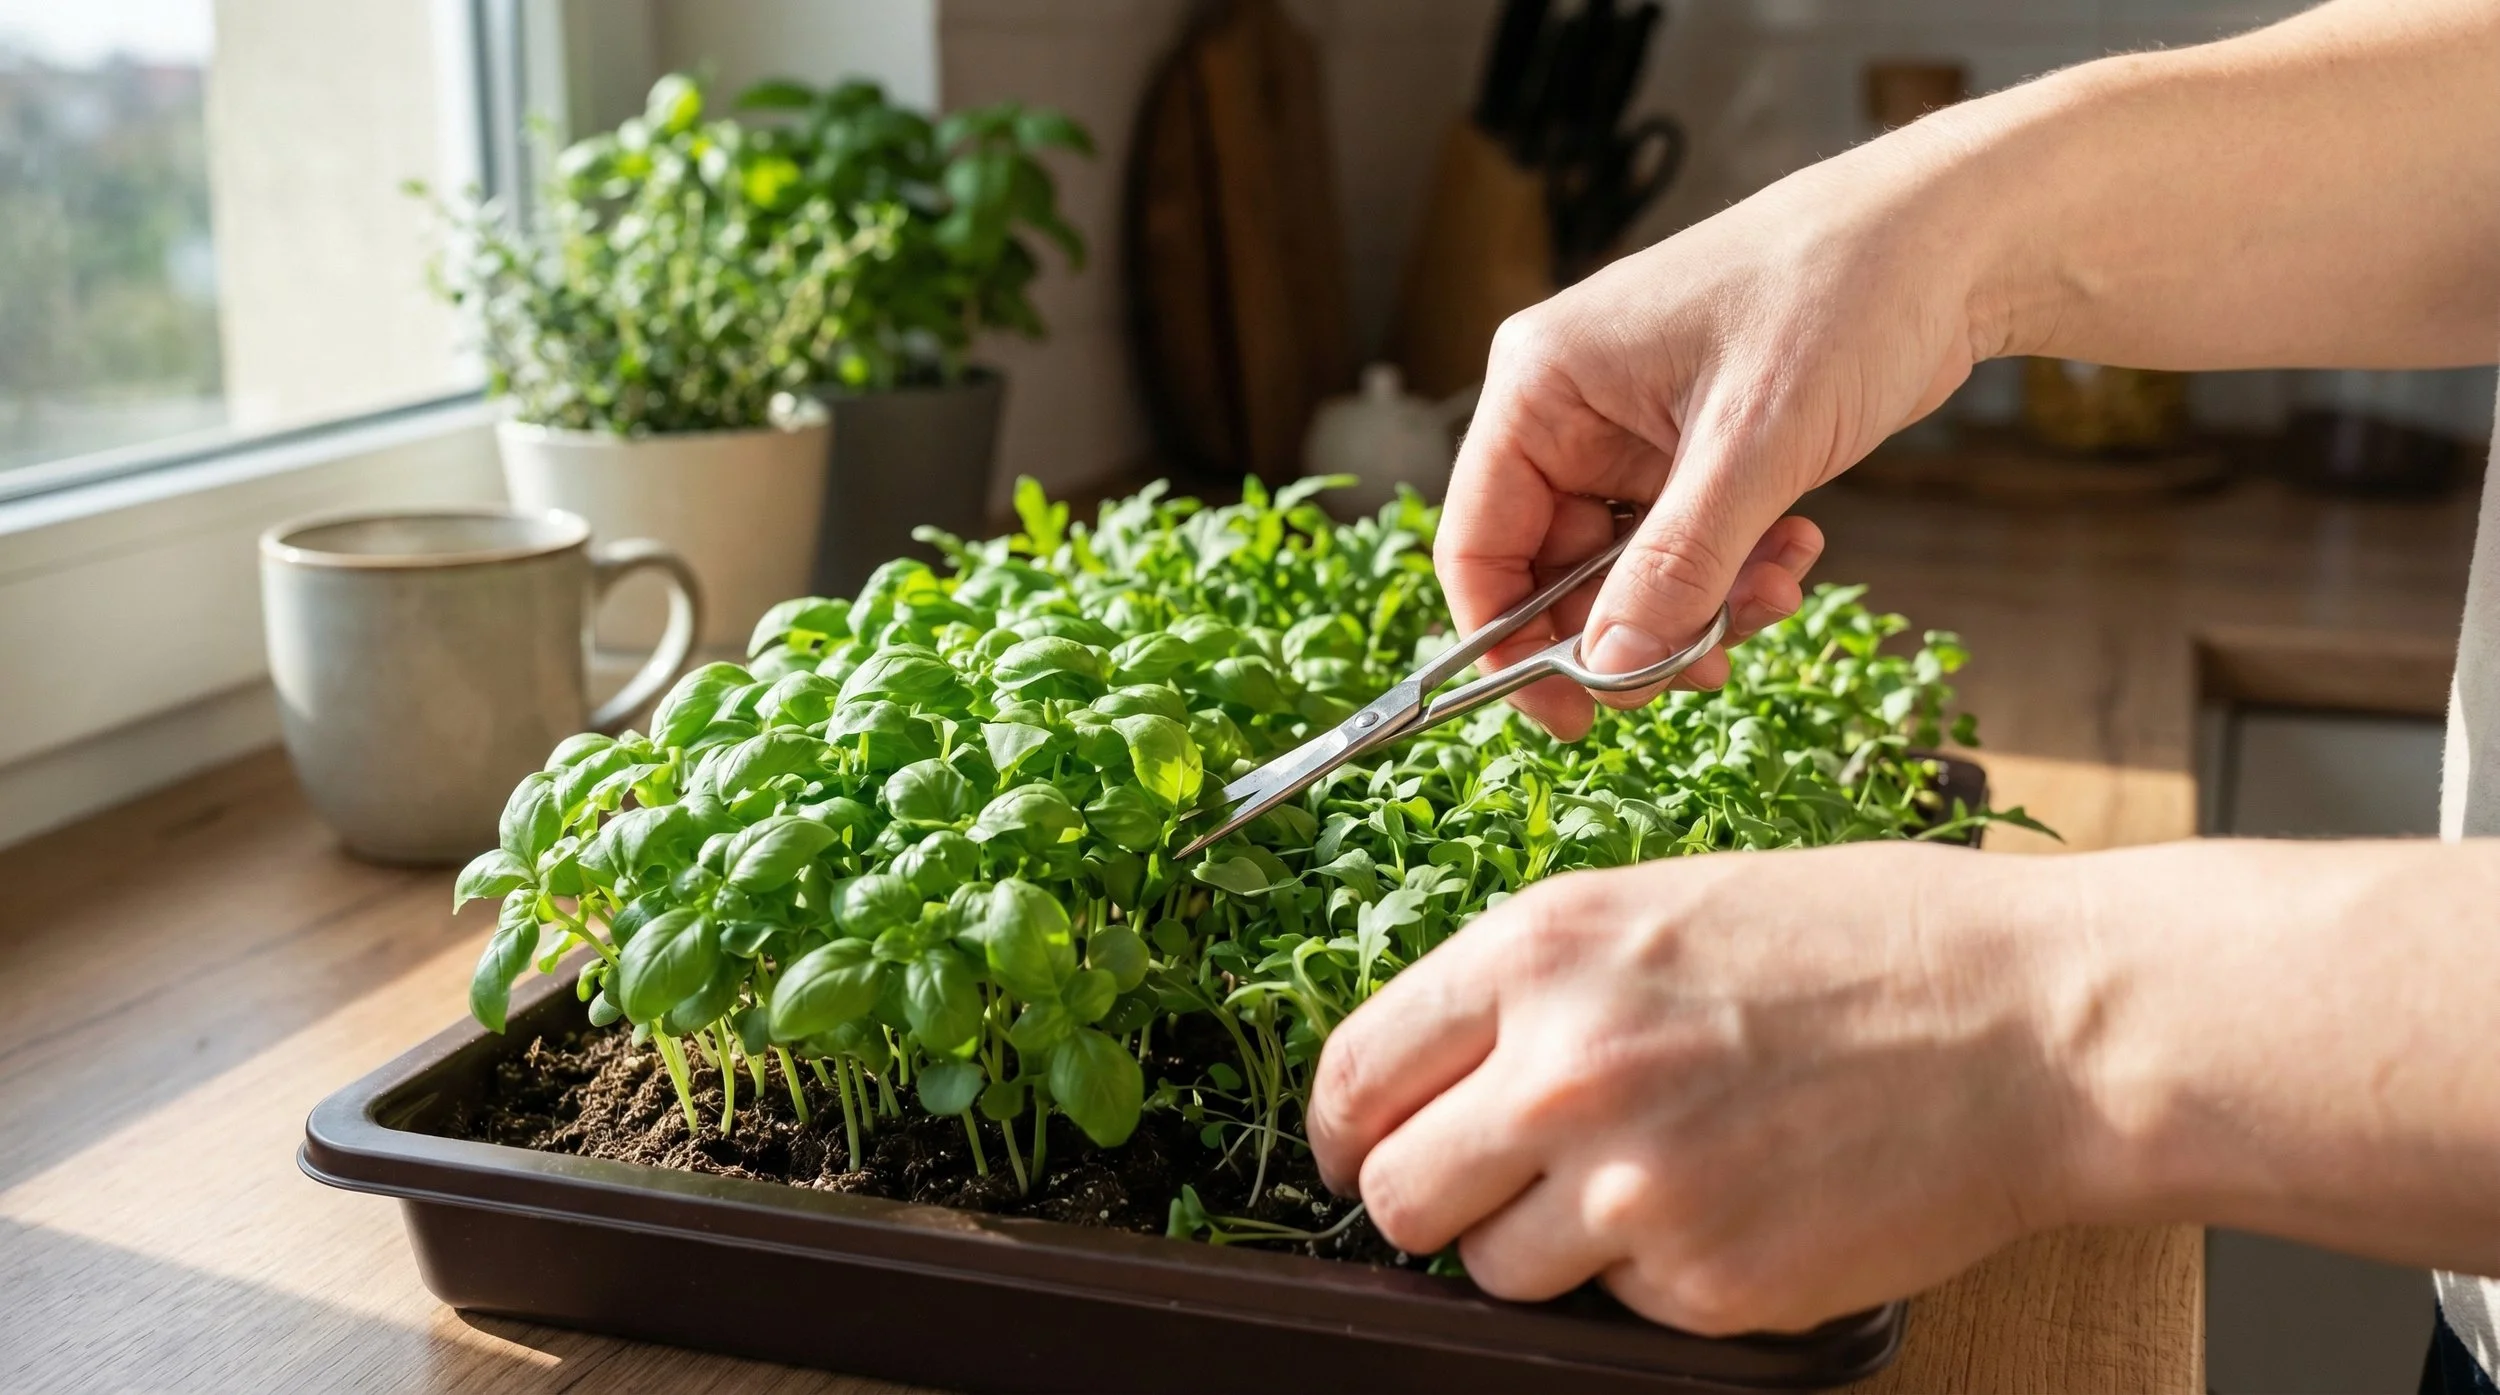
Harvest. Using clean, sharp scissors or a knife, cut the microgreens just above the soil line. Harvest the entire tray at once, or cut what you need and let the rest continue growing for a day or two. Most microgreens will not regrow after cutting (pea shoots are a notable exception and can sometimes produce a second, smaller harvest).
-
Rinse and enjoy. Give your harvested microgreens a gentle rinse in cool water, spin or pat dry, and use them immediately or store in the refrigerator. They keep well for 5 to 7 days in a sealed container lined with a dry paper towel.
How Do You Prevent Mold and Other Common Problems?
Mold is by far the most common issue for new microgreen growers. Here is how to handle it and other potential problems.
Mold vs. root hairs. New growers often mistake fine white root hairs for mold. Root hairs are fuzzy white filaments that grow along the roots and base of the stems, especially on brassicas like broccoli and radish. They disappear when you mist them with water. Actual mold tends to appear as webby, cobweb-like growth on the surface of the soil or on the seeds themselves, and it does not disappear when sprayed.
Preventing mold. Good air circulation is your best defense. Use a small fan on a low setting to keep air moving gently across your trays. Do not overwater. Switch to bottom watering as soon as roots are established. Avoid overcrowding seeds (though microgreens are planted densely, an excessive pile of seeds creates problems). Make sure your growing medium drains well.
Leggy, stretched seedlings. This means your microgreens need more light. Move them closer to your light source or switch to a brighter light. In Santa Cruz, a north-facing window will not provide enough light for most of the year.
Uneven germination. This is usually caused by uneven seed distribution or uneven moisture. Try to spread seeds as uniformly as possible and mist evenly during the blackout phase.
Seeds not germinating. Check your seed freshness. Old seeds have lower germination rates. Also verify that the growing medium is staying consistently moist during the blackout phase, and that temperatures are in the 60 to 75 degree Fahrenheit range. In a Santa Cruz home, ambient room temperature is typically fine.
The UC Master Gardener program recommends starting with easy, fast-growing varieties and a clean setup to minimize problems while you learn the process. UC ANR also advises sterilizing cutting tools before each use and composting spent growing medium rather than reusing it, since reused soil can harbor pathogens like salmonella.
How Do Microgreens Fit into a California Garden Calendar?
One of the smartest reasons to grow microgreens in Santa Cruz and coastal California is how well they complement your outdoor garden cycle.
During our mild winters, the outdoor garden may slow down, but it rarely stops completely. Still, there are gaps. Microgreens can fill those gaps with fresh greens that are ready in a fraction of the time it takes outdoor crops to mature. While your winter lettuce takes 45 to 60 days to reach harvest size, a tray of radish microgreens gives you fresh greens in under a week.
During our foggy summer months (June through August in much of coastal Santa Cruz County), outdoor warm-season crops like tomatoes can struggle. Indoor microgreens are completely unaffected by fog and marine influence.
Here is a simple seasonal framework:
Fall and winter (October through February). Focus on brassica microgreens like broccoli, radish, kale, and cabbage. These germinate well at cooler indoor temperatures and complement the hearty soups and stews of the season.
Spring (March through May). Start sunflower and pea shoot trays as fresh additions to spring salads. This is also a great time to experiment with herb microgreens like basil and cilantro as the days lengthen and indoor light improves.
Summer (June through September). Keep growing any variety you enjoy. The longer days and warmer indoor temperatures mean faster germination and growth. If you are focused on your outdoor garden, even one tray of microgreens per week keeps fresh greens on your counter.
What Can You Do with Microgreens Once You Harvest Them?
Microgreens are incredibly versatile in the kitchen. Here are some practical uses:
Salad base or topper. Use pea shoots or sunflower microgreens as the base of a salad, or scatter any variety on top of a regular green salad for added flavor and nutrition.
Sandwich and wrap addition. A handful of microgreens adds crunch and flavor to sandwiches, wraps, and tacos.
Smoothie ingredient. Wheatgrass and broccoli microgreens blend well into green smoothies without overpowering the flavor.
Garnish. Microgreens make beautiful, edible garnishes for soups, omelets, avocado toast, and grain bowls. Radish and amaranth microgreens are especially attractive.
Stir-fry and cooking. While microgreens are most nutritious raw, heartier varieties like sunflower and pea shoots hold up to light cooking. Add them at the very end of cooking to preserve texture and nutrients.
How Much Does It Cost to Grow Microgreens at Home?
The startup cost is modest. A set of growing trays runs about $5 to $15. A bag of seed-starting mix costs $5 to $10 and will fill multiple trays. A basic LED shop light costs $15 to $30. Seeds for microgreens are typically $3 to $8 per ounce depending on variety, and one ounce plants one standard tray.
Your total startup investment is likely $30 to $60, and ongoing costs are mainly seeds and occasional growing medium replacement. Compared to buying microgreens at the Santa Cruz farmers market or grocery store (where a small clamshell can cost $3 to $5), growing your own becomes economical within a few weeks.
For those already gardening, you likely have trays, soil, and light on hand, which means your startup cost is essentially just seeds.
Frequently Asked Questions
Do microgreens regrow after you cut them?
Most microgreens do not regrow after cutting because you are harvesting the plant's only growing point. Pea shoots are a notable exception and can sometimes produce a second, smaller harvest from the same roots. For other varieties, it is best to compost the spent growing medium and roots, then start a fresh tray. This composted material is excellent for your outdoor garden beds.
Can you grow microgreens without a grow light?
Yes, especially in California where we have abundant natural light for much of the year. A bright, south-facing window works well for many varieties. However, a basic LED grow light or shop light produces more consistent results, particularly during shorter winter days or if your home faces north. If your microgreens are stretching tall and staying pale, they need more light than your window provides.
Are microgreens safe to eat raw?
Microgreens grown at home in clean conditions are generally safe to eat raw. Unlike sprouts, which grow in warm, humid, enclosed environments that can harbor bacteria, microgreens grow in open air with good ventilation. The UC Davis Food Safety program distinguishes between the risk profiles of sprouts and microgreens. The UC ANR Microgreens Fact Sheet also notes that because microgreens are eaten raw and grown in high-humidity conditions, using clean trays, fresh growing medium, and good-quality seeds is essential for food safety.
How long do harvested microgreens last in the refrigerator?
Freshly harvested microgreens stored in a sealed container lined with a dry paper towel will last about 5 to 7 days in the refrigerator. Do not wash them until you are ready to use them, as excess moisture shortens their shelf life. If they start to wilt or develop an off smell, compost them. Growing your own means you can harvest just what you need each day, which is the freshest option.
What is the difference between microgreens and sprouts?
Sprouts are germinated seeds eaten whole (root, stem, seed, and all) after just 2 to 5 days, grown in water without soil. Microgreens are grown in soil or a growing medium, given light, and harvested by cutting the stem above the soil line after 7 to 14 days, once cotyledons or true leaves have developed. Microgreens are considered safer because their growing conditions are less conducive to bacterial growth, according to food safety guidelines from the FDA and UC Davis.
Can you grow microgreens from regular garden seed packets?
You can, as long as the seeds are untreated (no fungicide coatings). However, standard garden seed packets contain very small quantities of seeds, which makes them expensive for microgreen growing. It is more economical to purchase seeds sold in bulk for microgreen or sprouting use. Look for varieties labeled "untreated" and sold by the ounce or pound from reputable seed companies.
What temperature do microgreens need?
Most microgreens germinate and grow well at typical indoor room temperatures between 60 and 75 degrees Fahrenheit, which aligns perfectly with comfortable home temperatures in Santa Cruz. Some varieties, like basil, prefer the warmer end of that range. If your home drops below 60 degrees at night in winter, a seedling heat mat placed under your trays can help maintain consistent germination. These mats are inexpensive and widely available at garden centers.
Ready to add fresh, homegrown greens to every meal in under two weeks? Download our free California Growing Guide at ambitiousharvest.com/your-garden-toolkit for seasonal planting calendars, variety recommendations, and more indoor growing tips tailored to Santa Cruz and coastal California.