
Keeping a Garden Journal: What to Track and Why It Matters
A few of the product links in this guide are affiliate links. If you buy through one, Ambitious Harvest may earn a small commission at no extra cost to you, which helps keep these guides free. As an Amazon Associate, we earn from qualifying purchases. Read our full disclosure.
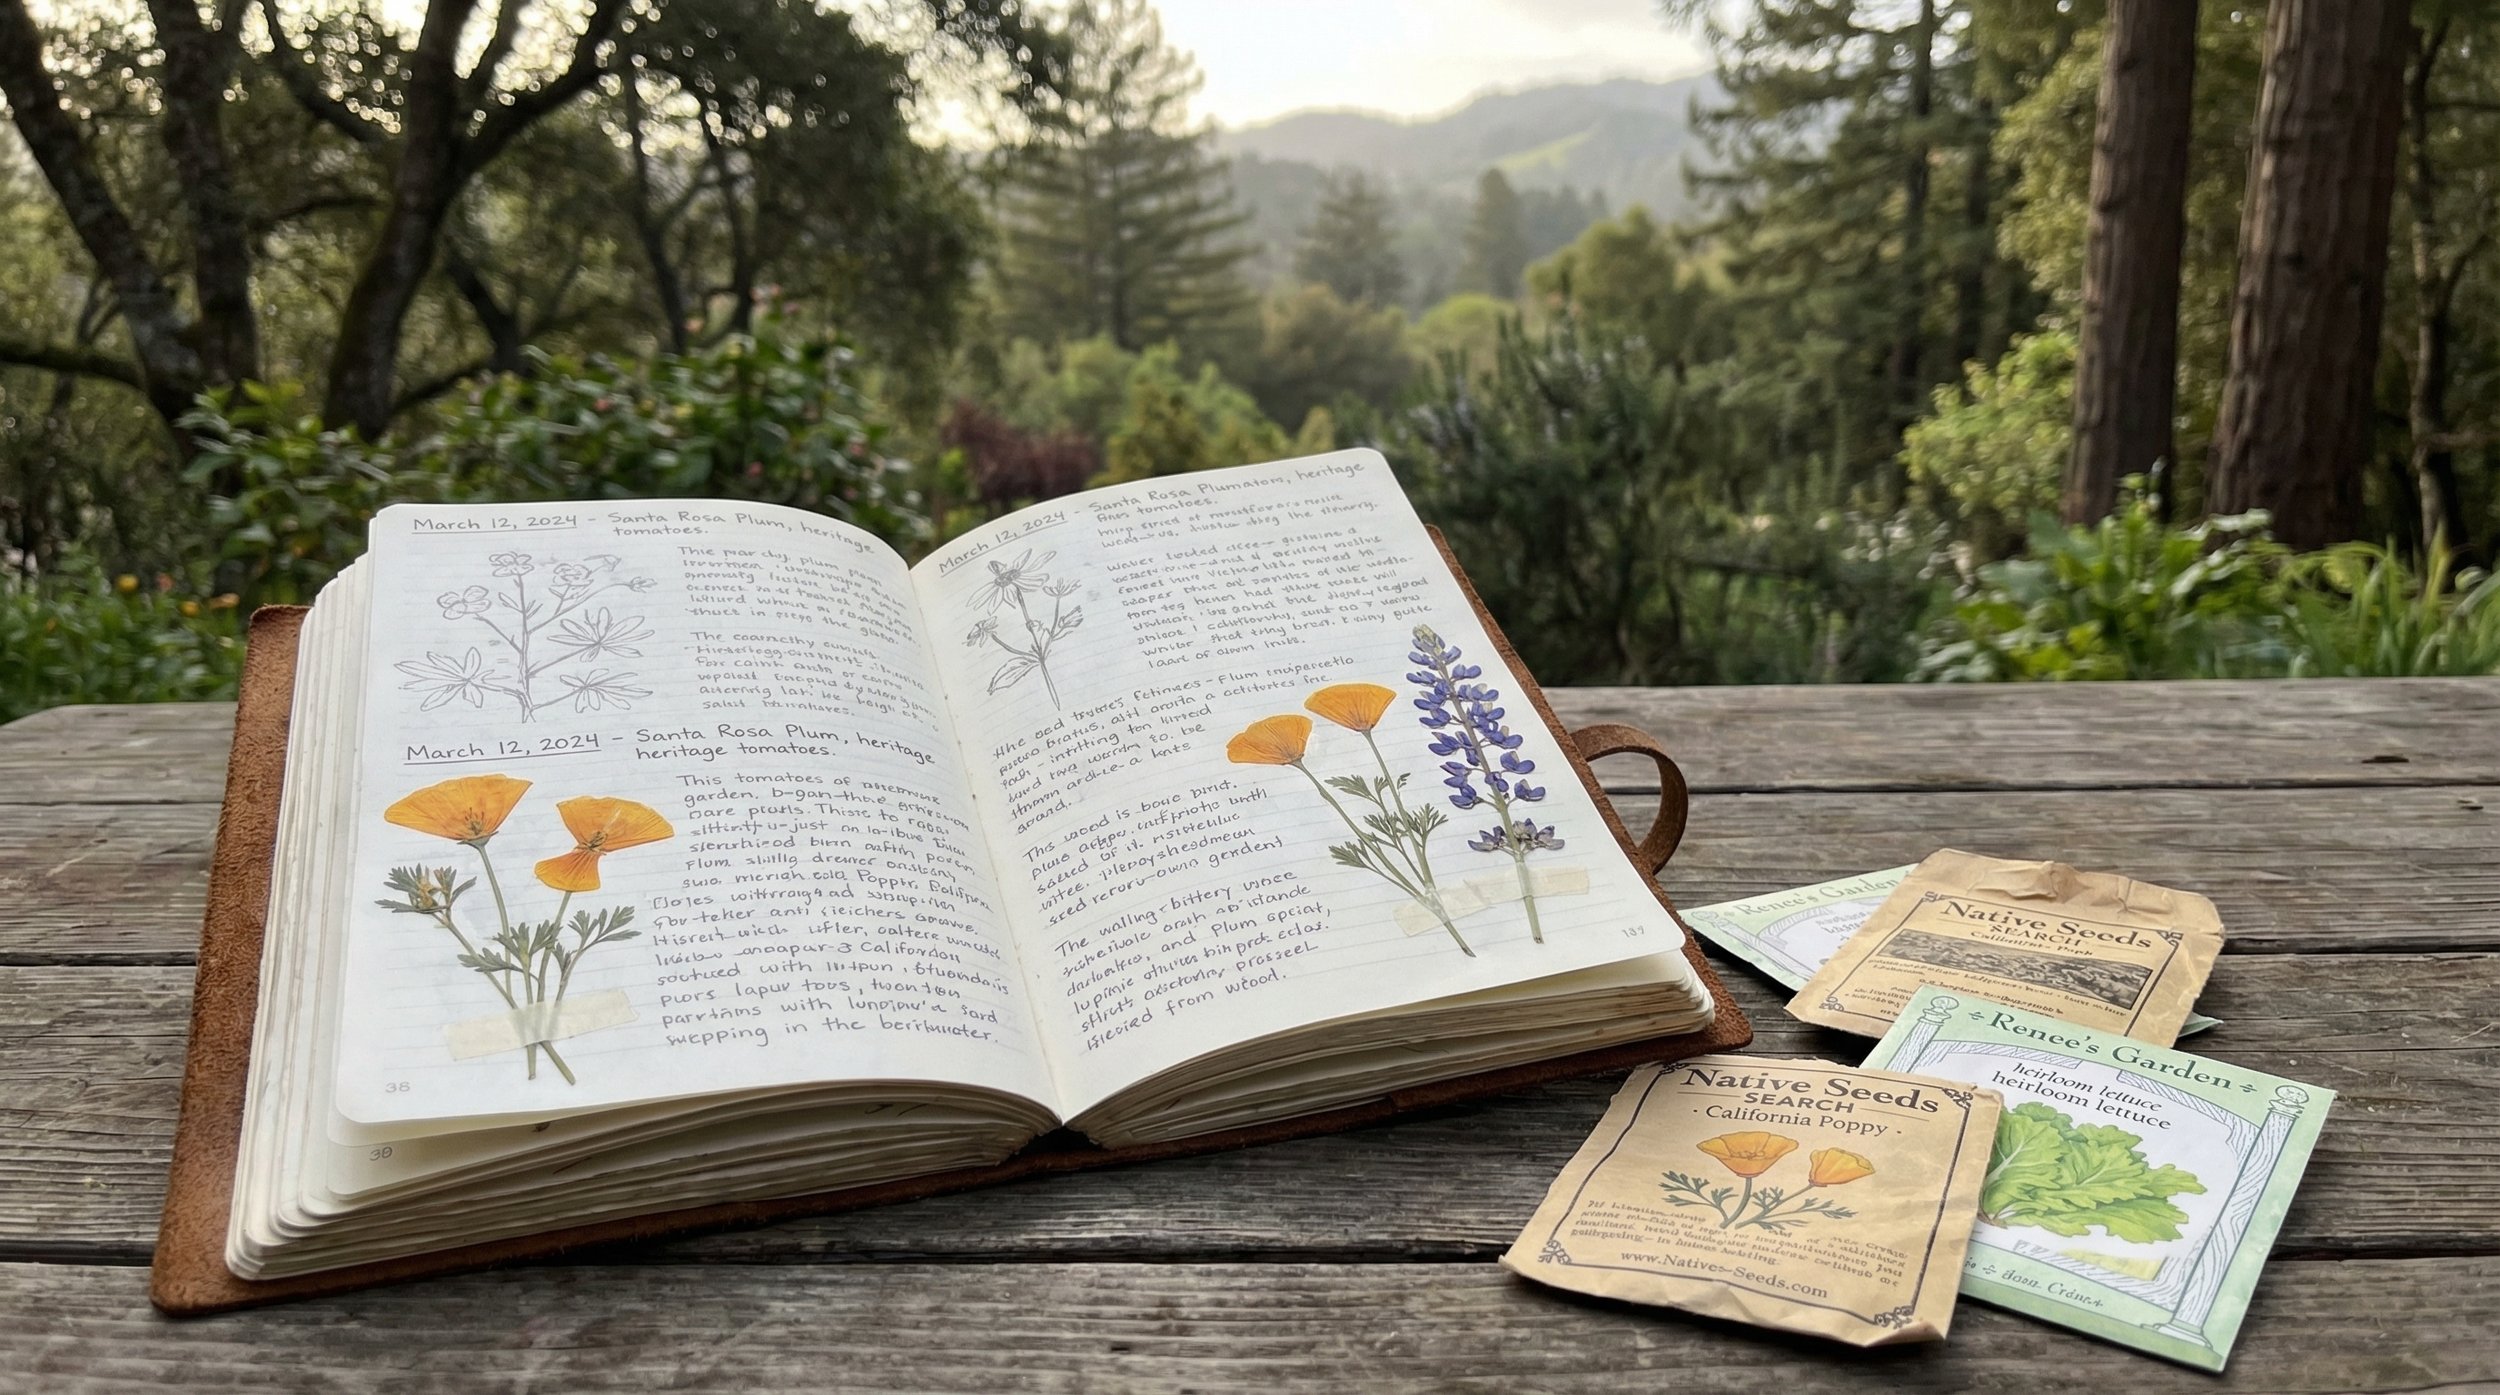
By the time you are buying tomato starts again, last spring can be surprisingly hard to remember. Was that the variety that ripened well, or the one that stayed green? Did you plant before the soil warmed? A garden journal gives those questions somewhere to land. Write down what you planted, where it went, and what happened next.
In a Santa Cruz County garden, a few notes about fog, sun, frost, and harvest dates can help you make sense of results that a regional planting calendar cannot explain on its own. You do not need a beautifully organized notebook. You need a record you can find when the same decision comes around again.
Start here: Record the date, crop variety, and bed whenever you plant. Add a short observation when you check the garden. That is enough to begin building something useful.
What the notebook remembers for you
A growing guide can help you choose a sensible planting window. Your notes help you see how that advice played out beside your fence, in your soil, through that particular spring. The two work together. A disappointing crop is easier to investigate when you can look back at its planting date and conditions instead of guessing.
You Will Remember What You Forget
Small details are usually the first to go: the name on a lost plant label, which bed held the beans, or the date leaves first showed mildew. A short entry keeps those details available when you need them.
You Will Spot Patterns
As records accumulate, compare results. Does one bed keep drying before the others? Has one tomato variety ripened reliably in cool summers? A pattern is a reason to investigate, not a promise that next year will behave the same way.
You Will Stop Repeating Mistakes
When something struggles, record the decision you would change: more space, a later sowing, or a different bed. Put that note where you will see it at planting time. Otherwise, a lesson learned in August is easy to lose by April.
Use the notes to make decisions
The UC Master Gardeners of Napa County recommend recording garden activity and mapping plantings. Dates and harvest notes give you a way to compare crops and seasons. They also help with practical decisions, such as leaving less space for a vegetable nobody finished and more for one you kept wishing you had.
What to write down
Record the details that will answer a future question. You can add categories later; there is no need to fill every box from the first week.
Planting Records
This is the backbone of your journal. For each crop you plant, record:
- Date planted (sow date for seeds, transplant date for starts)
- Variety name (not just "tomato" but "Early Girl" or "Sungold")
- Source (where you bought the seeds or starts)
- Location (which bed or container)
- Spacing (how far apart)
- Any notes on planting conditions (soil temperature, weather, soil amendments added)
These details help you repeat what worked and investigate what did not. If the list feels long, begin with the date, variety, and location. Keep the seed packet or photograph the label rather than copying every instruction.
Weather and Climate Notes
You do not need to record daily temperatures (weather services archive that data for you). Instead, note significant weather events and patterns that affect your garden:
- First and last frost dates each year
- Extended fog periods and their dates
- Heat waves (dates, approximate highs)
- First significant rain of fall
- Any unusual weather (late frost, early heat, heavy wind events)
A nearby weather station is useful context, but frost in your own bed answers a different question. Record what you observed and distinguish it from a forecast or a station reading.
Harvest Records
Tracking what you harvest and when provides data you cannot get any other way. Record:
- First harvest date for each crop and variety
- Peak production period (when you are picking the most)
- Approximate yield (even rough estimates are useful: "got about 2 pounds per week from 4 plants")
- Quality notes (flavor, size, texture)
- Last harvest date
After a few seasons, you will have a clear picture of which varieties perform best in your garden and how long each crop actually produces. This is invaluable for planning how much to plant each year.
Pest and Disease Observations
Record when you first notice pest or disease problems, what they look like, what you did about them, and whether your response worked. As UC Master Gardeners note, it is important to include any control measures used and the success or failure of those measures, as this information will help you prepare for the same problem next year. Over time, this creates a timeline of pest pressure in your specific garden that helps you take preventive action before problems start.
If aphids appeared in April, begin checking the crop before then. If you use a row cover, note when it went on, whether pests were already present, and what changed. Pest and predator arrivals can vary between years.
Soil and Amendment Notes
Record what you add to your soil and when:
- Compost applications (amount, date, source)
- Fertilizer applications (product, rate, date)
- Soil test results and amendment plans
- Mulch applications
- Cover crop planting and incorporation dates
General Observations
Leave room for notes that do not fit neatly into categories. Things like "the Meyer lemon dropped all its fruit in June, check watering" or "bees seemed less active this spring" or "the trellis collapsed under the weight of the Tromboncino squash" are the kinds of observations that help you make better decisions next year.
Choose a format you will use
The best format is the one you will actually use. Here are the most common options with their strengths and limitations.
Paper Notebook
A simple spiral-bound notebook or composition book is the easiest way to start. Advantages: no technology to deal with, easy to take into the garden, and satisfying to write in. Disadvantages: harder to search through past entries, no backup if lost or damaged, and difficult to reorganize.
If you go the paper route, use a dedicated notebook (not a general-purpose one you will lose track of) and date every entry. A tabbed divider system, with sections for each bed or each crop, makes it easier to find information later.
Dedicated Garden Journal or Planner
Pre-formatted garden journals and planners provide structure with dedicated spaces for planting records, garden maps, harvest logs, and seasonal notes. They reduce the "blank page" problem that stops some people from journaling. The trade-off is less flexibility than a blank notebook.
Digital Options
Spreadsheets, note-taking apps, and dedicated garden planning apps all work well for digital journaling. Advantages: easy to search, sort, and analyze data over multiple seasons; backup options; and the ability to include photos. Disadvantages: harder to use in the garden (dirty hands plus phone screens), and some apps disappear or change their terms over time.
A spreadsheet can work well if you enjoy sorting records by crop or season. Check how your chosen app saves and exports files, and keep a backup. A familiar tool is usually easier to maintain than a new system with dozens of fields.
Photo Journal
Some gardeners find it easiest to take a quick photo of the garden each week, annotated with brief notes. Your phone's camera roll, organized by date, creates a visual record that is surprisingly useful for tracking growth, identifying problems, and comparing seasons. The key is adding a few words of context to each photo rather than relying on the image alone.
Use your notes alongside the first season timeline when planning another season.
Make the habit small
Make the next entry easy. A useful journal should fit into gardening, not become a second project competing with it.
Set a Weekly Schedule
Choose a regular moment for a short catch-up, perhaps after a weekend garden check. Review what you planted, harvested, or noticed. Write planting dates down when they happen; save the longer reflections for that weekly visit.
Keep It Short
An entry can be brief: “May 10: Planted Sungold in bed 3. Soil felt warm; label photographed. Check the cage before it gets taller.” Treat this example date as a journal entry, not a planting recommendation. A date, a place, and a next step are plenty.
Keep It Accessible
Store your journal somewhere you will see it regularly: on the kitchen counter, by the back door, or next to your gardening gloves. If it is buried in a drawer, you will forget about it.
Start Small
Begin with planting dates and varieties. When you want to answer another question, such as how long the peas produced, add that record. Let the notebook grow around questions you actually have.
Review at Season's End
Read the notes before the next round of planting, while you can still use them. In a year-round Santa Cruz garden, that might be a spring review and another before fall planting. Write three short lists: keep, change, and investigate. The point is to choose a next step, not summarize every day.
Details worth watching in Santa Cruz County
Our coastal climate has quirks that make certain journal entries especially valuable. Here are the things that matter most for local gardeners to track.
Fog Patterns
Note stretches when fog or cloud lingered over your beds and when the sun returned. Pair that observation with the crop response rather than deciding that fog alone caused a poor harvest. Watering, variety, planting date, and temperature can change the result too.
Microclimate Observations
Watch which beds warm first, which remain shaded, and where frost appears. These differences help you choose planting spots. If you measure temperature, record the location and time so that later comparisons mean something.
Variety Performance
Compare varieties under similar conditions when you can. One plant in a sunny bed and another in deep shade are not a fair test of variety alone. Keep using the local UC Master Gardener plant-selection resources, then add observations from your own garden.
First and Last Frost Dates
If frost reaches your garden, record the date, affected bed, and plant response. A low pocket and a sheltered wall may have different outcomes on the same night. Your observations supplement published frost guidance; a few frost-free years do not establish that a site cannot freeze.
Water Usage
During drought years and water restrictions, tracking how much water your garden uses (and how different irrigation methods compare) helps you make better conservation decisions. Note when you switch between watering frequencies and how plants respond.
Turn observations into next steps
The examples below are invented to show how a gardener might turn notes into decisions. They are not Adrienne's harvest records or claims about particular Santa Cruz weather years.
Timing Insights
“The later tomato planting established more readily than the early one. Next spring, check soil warmth instead of repeating the earlier calendar date.” The useful lesson is what to check, not a universal day to plant.
Variety Comparisons
“Sungold ripened reliably in the sunny bed, while the larger tomato struggled. Try the larger variety in a warmer position before giving up on it.” Record where each plant grew so the comparison stays fair.
Pest Timing
“Aphids appeared before lady beetle larvae. Check the plants regularly and record whether pest numbers are rising or falling.” Last year's natural control does not guarantee the same result this year.
Yield Planning
“We had more zucchini than we used. Grow fewer plants and leave room for another sowing of beans.” Useful yield records can be as simple as “too much,” “enough,” or “wish we had more.”
Weather Correlations
“The cloudier summer brought a slower tomato harvest, while greens did well. Keep some space for both.” Several factors can change together, so treat a weather correlation as a question to explore.
Draw a simple map
A simple sketch of your garden layout at the start of each season is one of the most useful journal additions. It does not need to be beautiful or to scale. A rough diagram showing which crop went in which bed (or which section of a bed) serves two important purposes. The UC ANR garden journal guide recommends drawing a sketch of your garden at the beginning of each season, recording the location, species, varieties, and planting dates of everything you plant.
Crop Rotation
A map helps you avoid repeatedly putting susceptible crops in the same place. The UC vegetable-growing guide discusses crop rotation. How useful rotation will be depends on the disease, its host range, and the space available; it is not a guaranteed three-year cure for every soil problem. Record crop families and any diagnosed disease so you can seek specific advice.
Space Planning
Maps help you plan succession plantings and interplanting more effectively. Seeing your garden layout on paper makes it easier to identify empty spaces, plan what will replace finished crops, and visualize how the garden will look at different points in the season.
Frequently Asked Questions
How detailed does my journal need to be?
Not very. A few bullet points per week covering planting dates, weather observations, and any notable events is sufficient to create a useful record. If you enjoy writing more detailed entries, that is great, but brevity is better than not journaling at all.
Should I use a physical or digital journal?
Whichever you will actually use. Paper works well for people who prefer handwriting and want something portable in the garden. Digital tools work better for people who like searchability and photo integration. Many gardeners use both: a quick note on their phone during the week and a paper journal for weekly reviews.
What if I miss a few weeks?
Pick it back up without guilt. Even incomplete records are valuable. A journal with gaps can still give you useful information. Write what you remember and move forward.
Can I start mid-season?
Absolutely. There is no wrong time to start a garden journal. Record what you have planted so far this season (from memory or by walking through the garden) and begin tracking from today. By next season, you will already have useful reference data.
What if I just take photos?
Photos are a great supplement but work best when combined with brief written notes. A photo of a pest-damaged plant is helpful, but a photo with a note saying "July 3, tomato hornworm damage on Early Girl in bed 2, hand-picked 3 caterpillars" is far more useful when you look back at it next year.
Start Your Garden Journal Today
If you prefer a starting template, browse Your Garden Toolkit for the current free garden-planning resources. Choose a sheet that matches what you want to record, or begin with a plain notebook and a few dated notes.
Browse the free garden-planning resources
Related Reading
- How to Start a Vegetable Garden in Santa Cruz County
- Companion Planting Guide: Maximizing Your Garden's Potential
- Interactive Planting Calendar (free tool)
- How to Read a Soil Test
- How to Keep a Garden Journal and Why You Should
For free printable garden planning resources, visit Your Garden Toolkit.