

How to Read a Soil Test (and What to Do With the Results)
A few of the product links in this guide are affiliate links. If you buy through one, Ambitious Harvest may earn a small commission at no extra cost to you, which helps keep these guides free. We only point to gear we would use in our own Santa Cruz garden. As an Amazon Associate, we earn from Read our full disclosure.
A soil test is the single most useful piece of information you can get about your garden, yet most home gardeners have never done one. It tells you exactly what your soil has, what it lacks, and what you need to add to grow healthy, productive plants. No more guessing about fertilizer, no more wondering why your tomatoes look pale or your blueberries refuse to thrive.
If you have already sent in a soil sample (or you are holding a results sheet and wondering what all the numbers mean), this guide walks you through every line of a standard soil test report. If you have not tested yet, we will cover how to collect a proper sample first. Everything here is contextualized for Santa Cruz County soils, which have their own specific characteristics that affect how you interpret and act on your results.
Key Takeaway: A basic soil test costs $20 to $50, takes about two weeks, and gives you the information to stop guessing about what your garden soil needs. Test every 2 to 3 years, or whenever you are starting a new garden bed.
Why Should You Test Your Soil?
Most gardeners add amendments based on general advice or package directions rather than actual soil data. The result is often over-application of some nutrients and neglect of others. A soil test fixes this by giving you a precise snapshot of your soil chemistry.
You Will Know Your pH
Soil pH controls nutrient availability. Even if your soil contains adequate nutrients, plants cannot access them if the pH is too high or too low. Most vegetables grow best in a pH range of 6.0 to 7.0. According to UC ANR, soil pH is the single most important factor in nutrient availability and is the first thing to correct if it is out of range.
You Will Avoid Over-Fertilizing
Excess phosphorus, a common result of years of adding all-purpose fertilizer without testing, can lock up other nutrients and contribute to water pollution. Excess nitrogen can cause lush leaf growth at the expense of fruit production. A soil test tells you what you actually need, so you can add only what is missing.
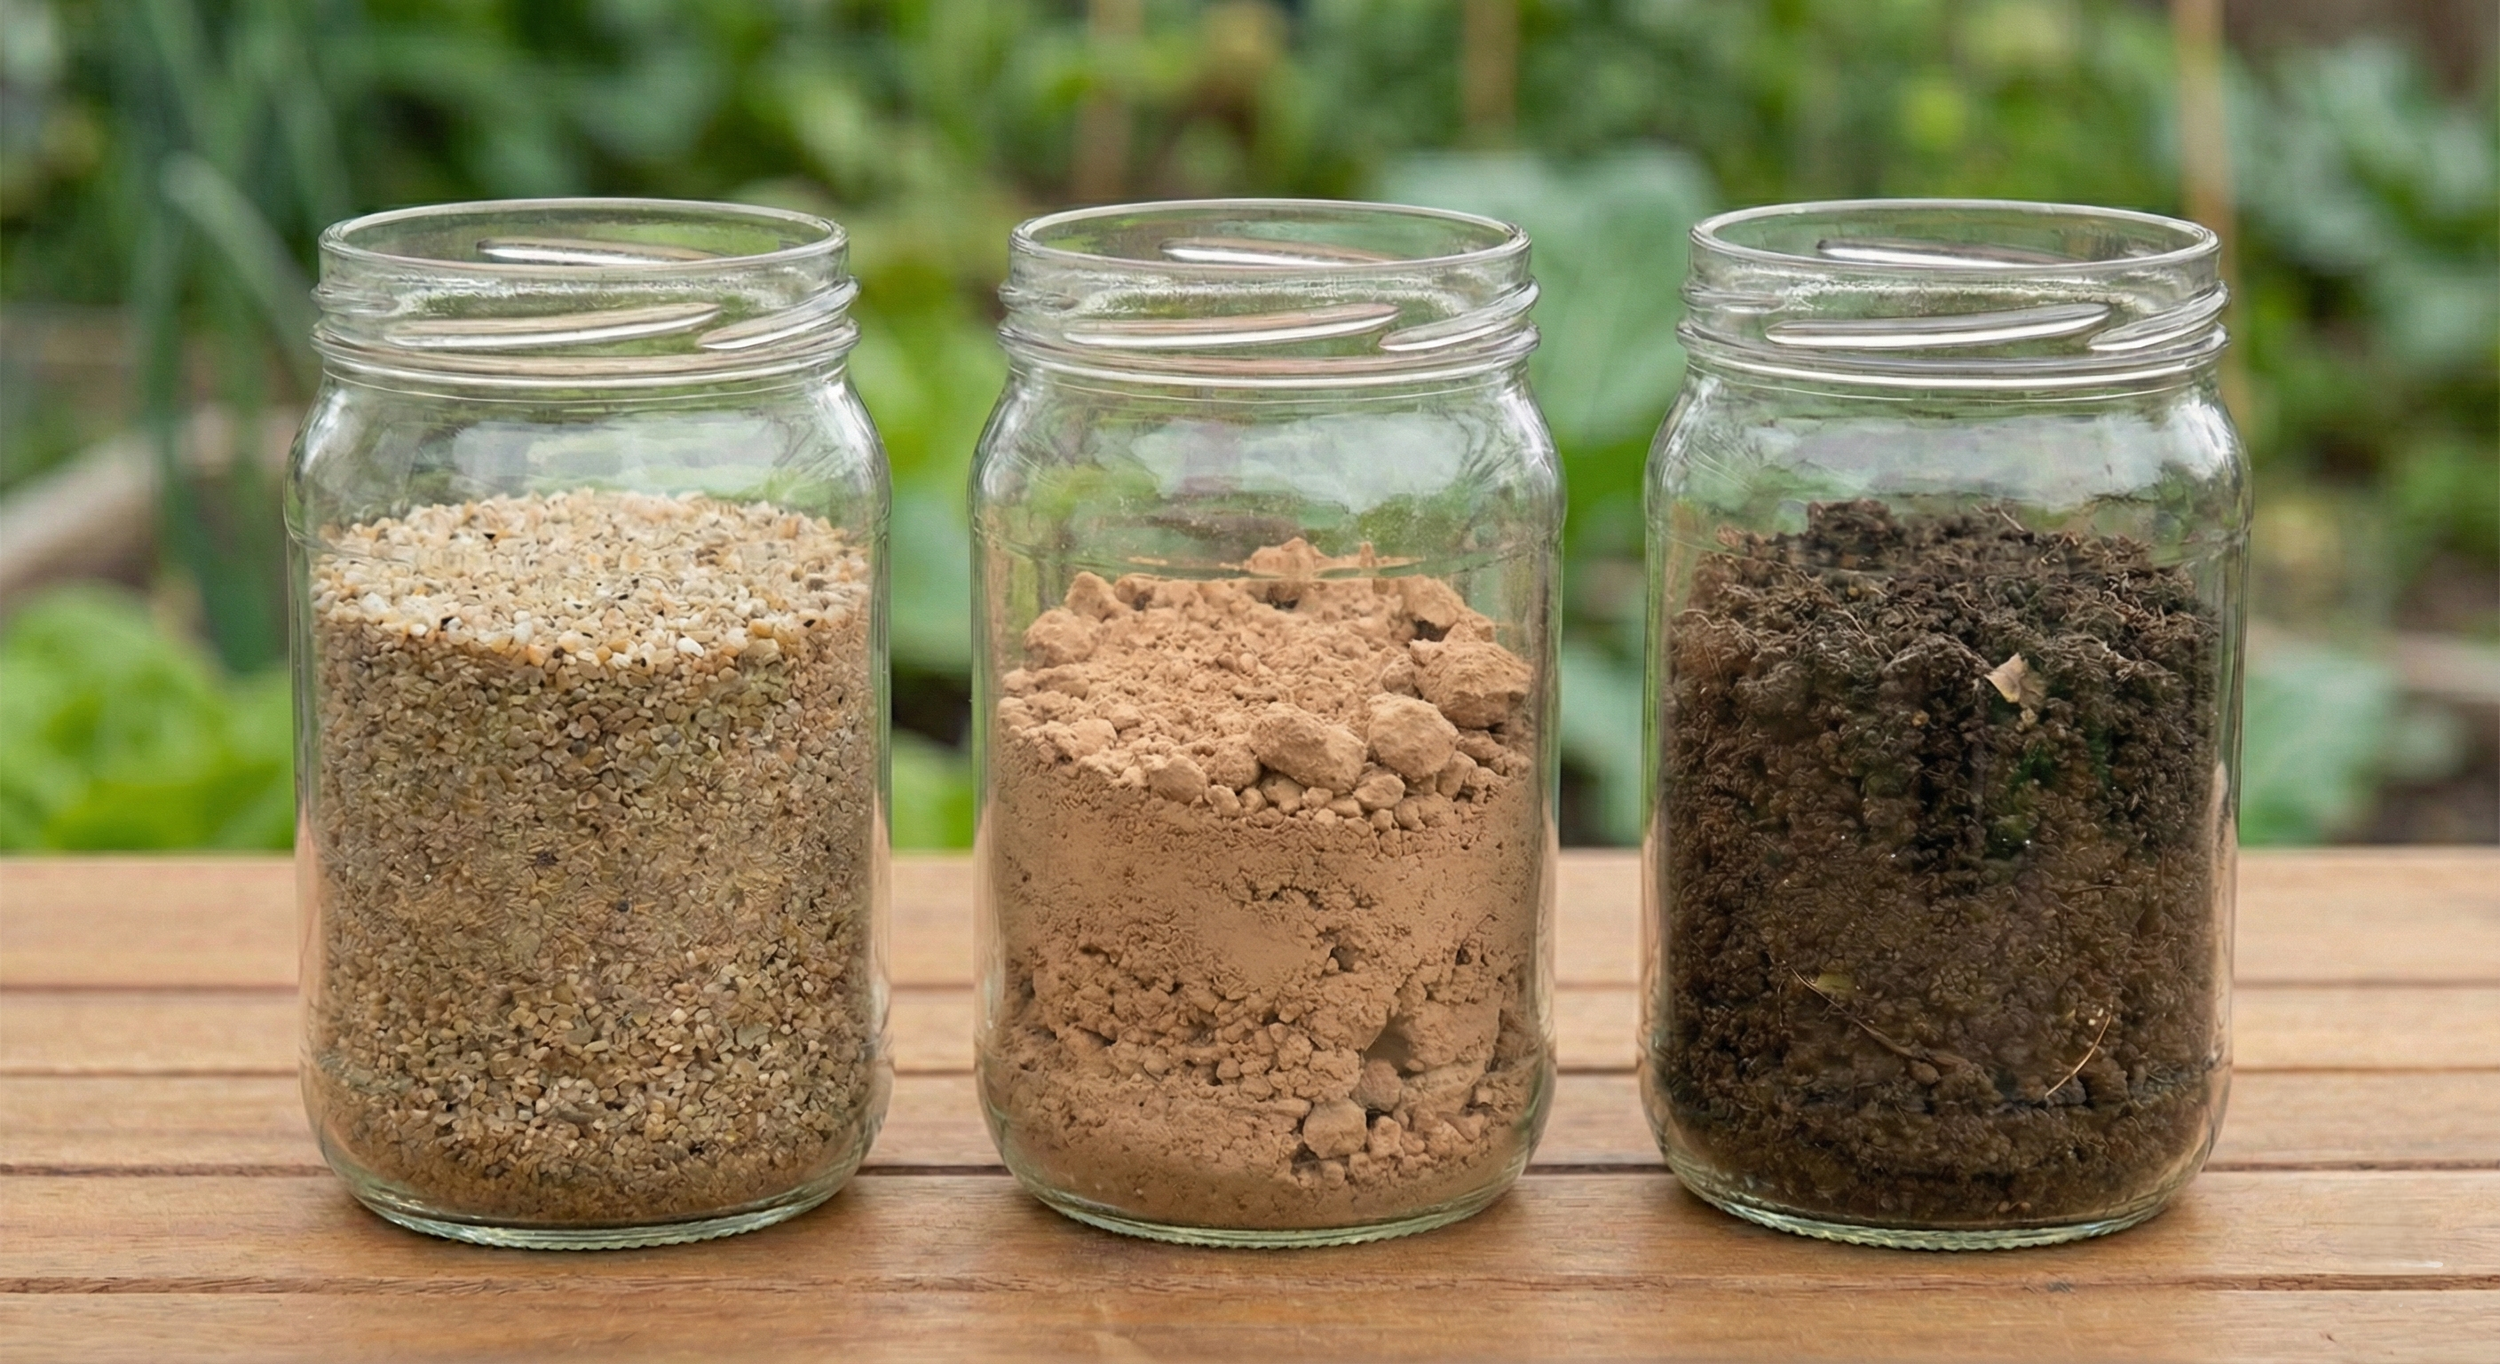
You Will Understand Your Soil Type
Many soil tests include texture analysis (sand, silt, clay percentages), organic matter content, and cation exchange capacity (CEC). These tell you how your soil holds water and nutrients, which affects everything from watering schedules to amendment choices.
How Do You Collect a Soil Sample?
A good soil test starts with a good sample. The goal is to get a representative sample of the soil your plants' roots are actually growing in.
What You Need
A clean trowel or soil probe (avoid rusty metal, which can skew iron readings)
A clean plastic bucket (not metal)
A quart-sized plastic bag for the final sample
Step-by-Step
Decide what areas to test separately. Test your vegetable garden, lawn, and ornamental beds as separate samples. If different parts of your garden behave differently (one bed produces well, another does not), test them separately. Each sample should represent one uniform area.
Take multiple subsamples. For each area, take 8 to 12 small samples from different spots within that area. Dig to a depth of 6 to 8 inches for vegetable gardens. Remove any surface mulch or debris before sampling. The UC Marin Master Gardeners recommend sampling at 6 to 8 inches for vegetable beds and 2 to 6 inches for lawns.
Mix thoroughly. Combine all subsamples for one area in your plastic bucket and mix them together. This composite sample gives a representative average of the whole area.
Fill the sample bag. Take about 2 cups of the mixed soil and place it in your plastic bag. Label it clearly with the area name, date, and your name.
Dry it if needed. If the soil is very wet, spread it on newspaper indoors for a day to air-dry before bagging. Most labs prefer samples that are not dripping wet.
When to Sample
You can collect soil samples any time of year, but late fall and early winter (before the rainy season fully saturates the soil) are ideal in Santa Cruz County. This gives you results in time to amend beds before spring planting. For new garden beds, test before you plant anything so you can address issues from the start.
Where to Send It
Several labs serve California home gardeners:
UC Davis Analytical Lab offers comprehensive soil testing and is the gold standard for California gardeners. Their basic garden soil package includes pH, organic matter, macro and micronutrients, and texture. Results typically come with interpretation guidelines.
A&L Western Laboratories (Portland, OR) is widely used by California farmers and gardeners and offers affordable home garden packages.
Local cooperative extensions sometimes offer low-cost testing or can direct you to recommended labs. The UC Master Gardeners of Santa Cruz County can help you find the best option for your needs.
A basic soil test typically costs $20 to $50. Expect results in 1 to 3 weeks depending on the lab and time of year. For a detailed overview of how to evaluate your soil and what to look for, the UC Master Gardeners of San Mateo and San Francisco Counties offer a helpful guide to soil testing for home gardeners.
How Do You Read the pH Section of Your Soil Test?
pH is usually the first number on your results and the most important one to understand. It measures how acidic or alkaline your soil is on a scale of 0 to 14, with 7 being neutral.
What the Numbers Mean
Below 6.0: Acidic. Common in coastal Santa Cruz County, especially in areas with heavy rainfall, conifer trees, or acidic parent rock. Some nutrients (iron, manganese) become more available, but phosphorus and calcium can become less available.
6.0 to 7.0: Ideal for most vegetables and fruits. This is the "sweet spot" where most nutrients are readily available to plants.
Above 7.0: Alkaline. Less common in coastal Santa Cruz but can occur in areas with limestone parent material or where concrete leaching affects soil. Iron and zinc become less available, which can cause yellowing between leaf veins (chlorosis).
Santa Cruz County Soil pH Patterns
Coastal Santa Cruz County soils tend toward slightly acidic (5.5 to 6.5) due to our high rainfall, conifer influence, and acidic parent materials in many areas. According to the USDA Natural Resources Conservation Service (NRCS) soil survey for Santa Cruz County, the predominant soil series in the area (Watsonville, Elkhorn, Ben Lomond) range from moderately acidic to neutral. Mountain soils in the Santa Cruz Mountains tend to be more acidic than coastal terrace soils.
Raised bed gardeners who have been adding compost regularly often have soil closer to neutral (6.5 to 7.0), as compost tends to buffer pH toward neutral over time.
What to Do About pH
If pH is below 6.0: Add agricultural lime (calcium carbonate) according to your test's recommendation. Dolomitic lime also adds magnesium. Apply in fall and retest in spring, as lime takes several months to fully react with soil. UC ANR recommends lime rates based on soil texture: sandy soils need less lime to raise pH than clay soils.
If pH is above 7.5: Add elemental sulfur or sulfur-containing amendments. This is slow-acting; apply in fall for spring planting. Acidifying organic mulches (pine needles, oak leaves) help over time. For acid-loving plants like blueberries, container growing with a custom acidic soil mix is often easier than trying to lower in-ground soil pH.
If pH is 6.0 to 7.0: No adjustment needed for most garden crops. Maintain this range by continuing regular compost additions.
What Do the Macronutrient Numbers Tell You?
The three primary macronutrients, nitrogen (N), phosphorus (P), and potassium (K), are the ones most likely to be deficient in garden soil and the ones that have the biggest impact on plant growth.
Nitrogen (N)
Nitrogen drives leaf and stem growth. A deficiency shows as yellowing of older leaves (starting from the bottom of the plant), slow growth, and pale green color overall. Excess nitrogen causes dark green, lush foliage but poor flowering and fruiting.
Important note: nitrogen levels in soil change rapidly and are difficult to measure accurately in a standard soil test. Many labs report nitrogen as total nitrogen or nitrate-nitrogen, but these numbers are a snapshot that can change within days depending on rainfall, temperature, and microbial activity. According to UC Davis, nitrogen management for home gardens is best guided by organic matter content (higher organic matter means more nitrogen cycling) and plant observation rather than a single soil test number.
If nitrogen is low: Add compost (1 to 2 inches worked into the top 6 inches of soil), blood meal, feather meal, or a balanced organic fertilizer. Side-dress heavy feeders (tomatoes, corn, squash) with additional nitrogen during the growing season.
Phosphorus (P)
Phosphorus supports root development, flowering, and fruit set. Deficiency shows as purplish discoloration on leaves (especially undersides), poor flowering, and stunted root growth. Unlike nitrogen, phosphorus does not move easily through soil, so it accumulates with repeated applications.
If phosphorus is low: Add bone meal, rock phosphate, or composted manure. Work it into the soil rather than top-dressing, as phosphorus does not move downward readily.
If phosphorus is high (common in heavily amended gardens): Stop adding phosphorus-containing fertilizers. Use nitrogen-only amendments (blood meal, feather meal) when you need to fertilize. Excess phosphorus is not harmful to plants, but it ties up zinc and iron and can wash into waterways where it causes algal blooms.
Potassium (K)
Potassium regulates water use, disease resistance, and overall plant vigor. Deficiency shows as browning and curling of older leaf edges and poor fruit quality. In Santa Cruz County, potassium levels vary widely depending on soil type. Sandy coastal soils tend to be lower in potassium than clay-rich inland soils.
If potassium is low: Add greensand, kelp meal, or sulfate of potash (potassium sulfate). Compost also provides moderate amounts of potassium. Wood ash is a traditional potassium source but also raises pH, so use it only if your soil is acidic.
What About Calcium, Magnesium, and Micronutrients?
Most soil tests also report secondary nutrients (calcium, magnesium, sulfur) and sometimes micronutrients (iron, zinc, manganese, copper, boron). These are needed in smaller amounts but are still essential.
Calcium (Ca)
Calcium is crucial for cell wall structure and prevents blossom end rot in tomatoes and peppers. In Santa Cruz County, calcium levels are generally adequate in non-acidic soils. If your test shows low calcium, agricultural lime adds calcium while also raising pH. If your pH is already in range but calcium is low, gypsum (calcium sulfate) adds calcium without changing pH.
Magnesium (Mg)
Magnesium is the central atom in chlorophyll, so deficiency shows as yellowing between leaf veins while the veins themselves stay green (interveinal chlorosis), starting on older leaves. Dolomitic lime adds both calcium and magnesium and is the preferred lime choice if both pH adjustment and magnesium are needed. Epsom salt (magnesium sulfate) can address magnesium deficiency without changing pH, but use it only when your test confirms a deficiency. Routine application of Epsom salt without testing is a common garden myth that can cause nutrient imbalances.
Iron (Fe)
Iron deficiency is relatively common in alkaline soils and shows as interveinal chlorosis on new growth (the opposite pattern from magnesium deficiency, which affects older leaves first). If your soil pH is above 7.0, lowering it will usually make existing iron more available. Chelated iron products can provide a quick fix while you work on pH adjustment.
Boron (B)
Boron deficiency is occasionally seen in sandy coastal soils and affects beet, broccoli, and cauliflower production (hollow stems, brown spots). According to UC ANR, boron is the micronutrient most commonly deficient in California soils. If your test shows low boron, a small application of borax (1 tablespoon dissolved in 1 gallon of water per 100 square feet) corrects the deficiency. Be conservative, as the line between boron deficiency and toxicity is narrow.
What Do Organic Matter and CEC Mean?
These two values tell you about your soil's ability to hold and supply nutrients over time. They are just as important as the nutrient numbers themselves.
Organic Matter (OM)
Organic matter is decomposed plant and animal material in the soil. It improves soil structure, water retention, nutrient availability, and biological activity. Most vegetable gardens perform best with 3% to 5% organic matter. Below 2% indicates soil that will benefit significantly from compost additions. Above 8% can occur in heavily amended raised beds and may contribute to excess nitrogen and phosphorus.
Santa Cruz County soils vary widely in organic matter. Forest soils in the Santa Cruz Mountains may have 6% to 10% or more. Coastal terrace soils in Capitola, Aptos, and Live Oak often have 2% to 4% in their native state. According to the USDA NRCS soil survey, the Elkhorn and Watsonville soil series common in the Pajaro Valley typically have moderate organic matter content in the topsoil.
Cation Exchange Capacity (CEC)
CEC measures your soil's ability to hold positively charged nutrients (calcium, magnesium, potassium, and others). Think of it as your soil's "nutrient storage tank." A higher CEC means the soil can hold more nutrients and release them to plants over time, reducing the need for frequent fertilization.
Sandy soils: Low CEC (3 to 10). Nutrients wash through quickly. Fertilize more often with smaller amounts.
Loamy soils: Moderate CEC (10 to 25). Good nutrient holding capacity. Standard fertilization schedules work well.
Clay soils: High CEC (25 to 50+). Holds nutrients well but may hold them too tightly in some cases. Less frequent fertilization needed.
Adding compost to any soil type improves CEC over time. The organic matter in compost has a very high CEC compared to mineral soil particles, which is one of the many reasons compost is the most universally beneficial soil amendment.
How Do You Turn Soil Test Results Into an Amendment Plan?
Reading the numbers is one thing. Knowing what to do about them is where the real value lies. Here is a practical approach to creating an amendment plan from your results.
Step 1: Address pH First
If your pH is significantly out of range (below 5.5 or above 7.5), correct it before worrying about individual nutrients. pH affects the availability of every other nutrient, so fixing it may solve apparent deficiencies without adding anything else.
Step 2: Look at the Big Three (N, P, K)
Compare your nitrogen, phosphorus, and potassium levels to the lab's recommended ranges. Most labs classify results as low, adequate, or high. Focus on nutrients in the "low" category. If everything is in the "adequate" range, regular compost additions are usually sufficient to maintain those levels.
Step 3: Check for Specific Deficiencies
Review secondary nutrients and micronutrients. Address any that are flagged as deficient, paying attention to the specific symptoms described above so you can confirm the deficiency in your garden.
Step 4: Consider What You Are Growing
Different crops have different needs. Heavy-feeding vegetables (tomatoes, corn, squash, peppers) need more nitrogen and potassium than light feeders (beans, peas, herbs). Root crops need adequate phosphorus. If you are growing blueberries or rhododendrons, you need acidic soil regardless of what the general vegetable pH range says.
Step 5: Apply Amendments and Retest
Apply your chosen amendments according to the rates recommended by your lab or by UC guidelines. Retest in 1 to 2 years to see how your soil has responded. Soil improvement is a long-term process; do not expect dramatic changes from a single application.
Common Soil Test Scenarios in Santa Cruz County
After working with many local gardeners, I see certain patterns show up repeatedly in Santa Cruz County soil tests. Here are the most common scenarios and what to do about each.
Acidic Soil With Low Calcium (Common in the Mountains)
Gardeners in the Santa Cruz Mountains, Ben Lomond, Bonny Doon, and other forested areas often see pH values of 5.0 to 5.5 with low calcium. This is a natural result of heavy rainfall leaching calcium from the soil and the acidic influence of redwood and oak leaf litter. Apply dolomitic lime in fall according to your lab's recommendation. This raises pH and adds both calcium and magnesium. One application usually brings soil into a better range within 6 to 12 months.
High Phosphorus With Moderate Everything Else (Common in Established Gardens)
Gardeners who have been adding compost and all-purpose fertilizer for years often accumulate excess phosphorus. The solution is simple: switch to a nitrogen-only fertilizer when feeding heavy crops and let the phosphorus reserves draw down over several seasons. Blood meal, feather meal, and fish emulsion are all nitrogen sources that add little to no phosphorus.
Sandy Soil With Low Everything (Common in Coastal Flats)
Sandy soils near the coast and in parts of the Pajaro Valley have low CEC and low nutrient levels across the board. The long-term fix is building organic matter through heavy compost application (2 to 3 inches annually, worked into the soil). In the short term, more frequent, lighter fertilizer applications work better than large, infrequent ones in sandy soil because nutrients wash through quickly.
Clay Soil With High Potassium (Common in Inland Valleys)
Heavy clay soils in parts of Watsonville, Freedom, and Corralitos often show high potassium levels because clay minerals naturally hold potassium. These soils are rich but may have drainage problems. Focus on improving structure with compost rather than adding more nutrients. Raised beds with amended soil are often the best approach for growing vegetables in heavy clay.
Frequently Asked Questions
How often should I test my soil?
Every 2 to 3 years for established gardens. Test annually if you are actively correcting a significant pH or nutrient problem, and always test when starting a new garden bed or if plants are performing poorly despite good care.
Can I use a home soil test kit instead of a lab test?
Home test kits (the color-changing chemical or digital probe types) give a rough estimate but are not reliable enough for making amendment decisions. UC Master Gardeners recommend professional lab testing for accurate results. The UC Master Gardener Program of Alameda County notes that commercial laboratory tests are the standard for reliable soil analysis in California. The small extra cost of a lab test pays for itself in avoided over-application of amendments.
My soil test says my pH is 5.2. Is that bad?
It is too acidic for most vegetables, which prefer 6.0 to 7.0. However, it is fine for blueberries (which prefer 4.5 to 5.5) and many native plants. For vegetable beds, apply lime according to your lab's recommendation to raise the pH gradually. Plan on 6 to 12 months for the full effect.
Should I test my raised bed soil?
Yes. Raised bed soil, even if you bought it as a commercial mix, develops its own chemistry over time as you add compost, fertilizer, and plant material. Testing every 2 to 3 years helps you stay ahead of nutrient buildup or depletion.
What if my results show everything is adequate?
That is the best possible outcome. Continue what you have been doing (regular compost additions, appropriate fertilization for your crops) and retest in 2 to 3 years to make sure things stay in balance.
Track Your Soil Health Over Time
Related Reading
For free printable garden planning resources, visit Your Garden Toolkit.