

Growing Beans and Peas in Santa Cruz County: Easy Protein from Your Garden
A few of the product links in this guide are affiliate links. If you buy through one, Ambitious Harvest may earn a small commission at no extra cost to you, which helps keep these guides free. We only point to gear we would use in our own Santa Cruz garden. As an Amazon Associate, we earn from Read our full disclosure.
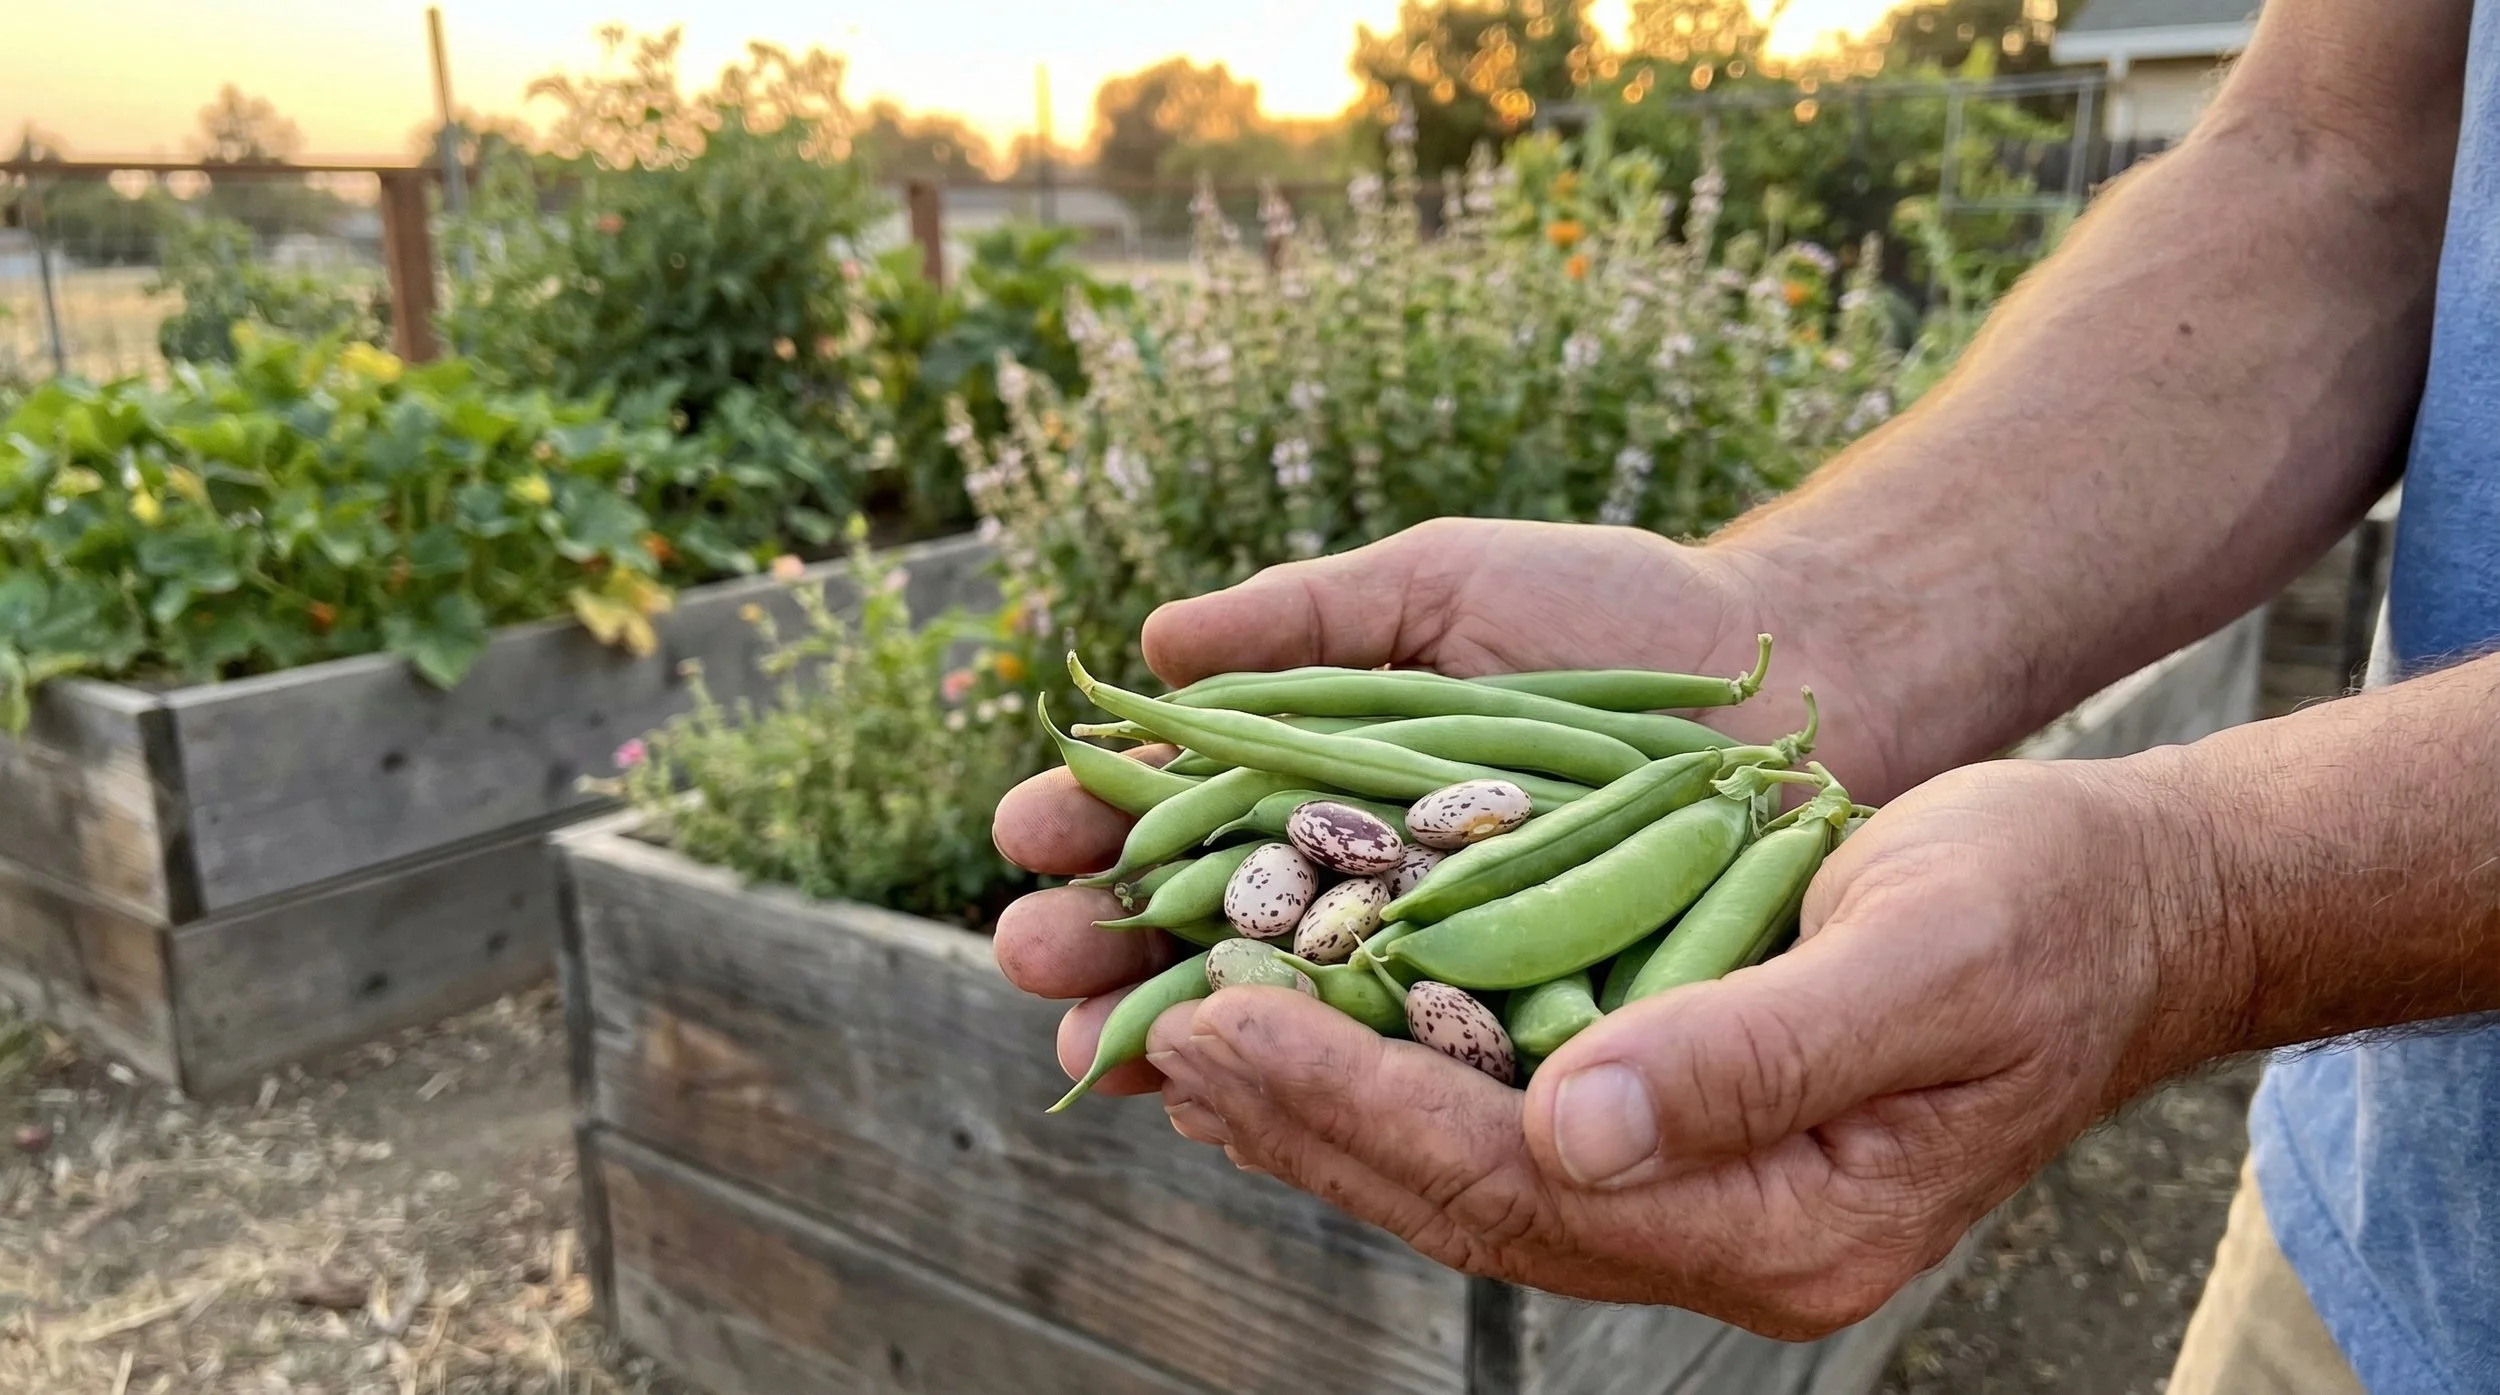
Beans and peas are among the most rewarding crops you can grow in Santa Cruz County. They produce abundantly, require relatively little fuss once established, and actually improve your soil while they grow. For gardeners looking to grow more of their own food, legumes offer homegrown protein that stores well and tastes nothing like what you find in stores.
This guide covers everything you need to know about growing beans and peas in our unique coastal climate. You will learn which varieties thrive in different microclimates, when to plant for the best harvests, and how to manage the challenges specific to our region.
What makes Santa Cruz County particularly good for legumes is our extended growing windows. While gardeners in hotter inland areas battle beans that stop producing in scorching summer heat, our moderate temperatures let us harvest from spring through fall. And our mild winters create ideal conditions for peas, fava beans, and other cool-season legumes that struggle elsewhere.
Why Legumes Deserve Space in Every Santa Cruz Garden
Legumes offer benefits beyond just food production. They are nitrogen fixers, meaning they pull nitrogen from the air and convert it into a form plants can use. This happens through a partnership with soil bacteria called rhizobia that form nodules on legume roots. When you turn under bean or pea plants at season's end, that nitrogen becomes available for your next crop.
UC Integrated Pest Management confirms that legumes can contribute 50 to 200 pounds of nitrogen per acre, depending on the species and growing conditions. For home gardeners, this translates to noticeably healthier soil and reduced fertilizer needs.
Beyond soil improvement, homegrown beans and peas offer superior flavor and nutrition. Fresh shelling beans taste nothing like their canned counterparts, and sugar snap peas eaten minutes after harvest have a sweetness that disappears within hours of picking. You also get access to heirloom varieties with stunning colors and complex flavors that commercial growers cannot justify growing.
Bean Types at a Glance
Choose the Right Bean for Your Santa Cruz Garden
Snap Beans (Green Beans)
Eat the whole pod when young and tender. The most popular type for home gardens. Available in green, yellow (wax), and purple varieties.
Shell Beans
Grown for the beans inside, harvested when pods are plump but still green. Fresh shell beans are a delicacy with creamy texture.
Dry Beans
Left on the plant until pods dry completely. Store for months and use in soups, stews, and traditional dishes. Very space-efficient.
What Is the Legume Family?
Before diving into specific crops, it helps to understand what you're working with. The legume family (Fabaceae) includes hundreds of species, but for Santa Cruz gardeners, the main categories are:
Beans (Phaseolus vulgaris): Common beans including snap beans, shell beans, and dry beans. These are warm-season crops that need soil temperatures above 60 degrees F to germinate well. In Santa Cruz County, this typically means planting from mid-April through July.
Peas (Pisum sativum): Including shelling peas, snow peas, and sugar snap peas. These are cool-season crops that actually prefer our foggy coastal weather and can be planted in late winter through early spring, then again in fall.
Fava Beans (Vicia faba): Also called broad beans, these are cool-season legumes planted in fall for spring harvest. They serve double duty as both food and cover crop, making them particularly valuable for Santa Cruz gardens.
Pole vs. Bush Growth Habits: Both beans and peas come in pole (climbing) and bush (compact) varieties. Pole types produce more over a longer season but require trellising. Bush types produce a concentrated harvest, take less space, and need no support.
When and How Should You Plant Beans in Santa Cruz County?
Beans are warm-season crops, but our coastal influence means timing requires more thought than in typical California gardens. The key is matching soil temperature to germination requirements.
When to Plant Beans
Beans need soil temperatures of at least 60 degrees F to germinate reliably, with 70 to 80 degrees being optimal. UC Integrated Pest Management notes that seeds planted in cold soil often rot before sprouting, leading to poor stands and wasted seed.
Coastal Areas (Westside Santa Cruz, Live Oak, Aptos, Capitola): Wait until mid-May to plant beans. Even then, consider pre-warming soil with black plastic for two weeks before planting. Fog-belt gardeners often find late May through June plantings outperform earlier attempts because warmer soil gets plants growing vigorously from the start.
San Lorenzo Valley and Sunny Inland Areas (Boulder Creek, Scotts Valley, Soquel hills): You can plant beans starting in late April in warmer microclimates. Succession plant every 3 weeks through mid-July for continuous harvest. These areas also allow late plantings into early August for fall harvest.
Under Redwoods (Felton, Ben Lomond canyons): Beans can be challenging in deep shade. Focus on the sunniest spots and stick to bush varieties that mature quickly. You may only get one good planting window in mid-May through early June.
Pajaro Valley (Watsonville): The warmest microclimate in the county allows planting from mid-April through August. This is prime bean territory, and gardeners here can grow varieties that struggle closer to the coast.
How to Plant Beans
Beans develop deep taproots and dislike transplanting. Direct sowing is strongly preferred.
Soil Preparation: Work in compost to improve drainage and tilth. Beans prefer a pH of 6.0 to 7.0. Most Santa Cruz soils fall within this range, though gardens under redwoods may need lime to raise pH.
Planting Depth: Sow seeds 1 to 1.5 inches deep. Plant bush beans 3 to 4 inches apart in rows 18 to 24 inches apart. Plant pole beans 4 to 6 inches apart at the base of supports.
Inoculation: For best nitrogen fixation, consider inoculating seeds with rhizobia bacteria before planting. This is especially valuable if you're growing beans in a spot that has not grown legumes recently. Inoculant is available at San Lorenzo Garden Center and most nurseries.
Watering: Water seeds in well after planting, then hold off on watering until seeds emerge (usually 7 to 14 days). Keeping soil consistently moist but not waterlogged during germination is crucial. Once plants are established, water deeply but infrequently to encourage deep root growth.
When and How Should You Plant Peas in Santa Cruz County?
Peas are the opposite of beans in their temperature preferences. They love our cool, foggy conditions and can struggle once summer heat arrives. This makes timing critical but also gives Santa Cruz gardeners a significant advantage over inland areas.
When to Plant Peas
Peas germinate in soil as cool as 40 degrees F, though 45 to 65 degrees is optimal. UC Integrated Pest Management notes that peas stop producing when temperatures consistently exceed 75 degrees F, as heat causes blossoms to drop without setting pods.
Spring Planting: Sow peas from January through mid-March for harvest before summer heat arrives. In coastal areas, you can often plant into early April since fog keeps temperatures moderate. Start with varieties that mature in 55 to 65 days to beat the heat.
Fall Planting: Sow peas from late August through October for harvest in November through December. Fall-planted peas often outperform spring peas in Santa Cruz because they mature during our mild fall weather rather than racing against summer heat.
Microclimate Considerations: Coastal gardeners have the longest pea season and can sometimes harvest into June. Inland gardeners should prioritize early spring plantings and fall crops. Under-redwood gardeners find peas easier than beans since the shade keeps plants cool, though production may be lighter than in sunny spots.
How to Plant Peas
Peas prefer direct sowing but tolerate transplanting better than beans if you start them in deep cells and transplant carefully with minimal root disturbance.
Soil Preparation: Peas prefer well-drained soil with moderate fertility. Avoid high-nitrogen fertilizers, which promote foliage at the expense of pods. If your soil is heavy clay, raised beds or generous compost additions improve drainage. See our guide on how to improve heavy clay soil in California for detailed steps.
Planting Depth: Sow seeds 1 to 2 inches deep. Space seeds 2 to 3 inches apart in double rows 6 inches apart, with 3 feet between double rows for air circulation and easy picking.
Support: Even "bush" peas benefit from some support, as plants loaded with pods tend to flop over. A simple structure of stakes and horizontal strings keeps plants upright and makes harvesting easier. Pole peas need sturdy trellises 5 to 6 feet tall.
Soaking: Some gardeners soak pea seeds overnight before planting to speed germination. This is optional but can help in cooler soils.
How Do You Grow Fava Beans?
Fava beans (also called broad beans) occupy a unique niche in Santa Cruz gardens. They are cool-season legumes planted in fall or early winter, grow through our mild rainy season, and produce in spring. This timing makes them invaluable for filling the winter garden with something productive while most other crops are dormant.
The Dual Purpose of Fava Beans
Fava beans serve as both food and cover crop. UC Integrated Pest Management notes that fava beans are one of the best cover crops for home gardens because they fix substantial nitrogen, produce edible yields, and their deep taproots break up compacted soil.
Even if you do not love eating fava beans (they have a distinct, slightly bitter flavor that is an acquired taste), growing them as a cover crop and turning them under before planting summer vegetables provides significant soil benefits.
When to Plant Fava Beans
Plant fava beans from October through early January. Earlier plantings produce larger plants and heavier yields, while later plantings still establish before spring growth begins. Seeds germinate in cool soil and plants tolerate frost down to about 15 degrees F, making them reliable even in colder Santa Cruz microclimates.
Fava Bean Considerations by Microclimate
Coastal Areas: Ideal for fava beans. Mild winters mean plants grow steadily all season without frost damage.
San Lorenzo Valley and Mountains: Fava beans handle the colder winters here well. Plant in October or early November to establish before the coldest weather.
Under Redwoods: Fava beans tolerate partial shade better than most vegetables, making them one of the best options for shaded winter gardens.
Pajaro Valley: Excellent conditions for large harvests. Warm soil in fall gets plants growing quickly.
Supporting Climbing Beans and Peas
Pole beans and climbing peas need sturdy support, and providing the right structure makes a significant difference in both yield and ease of harvest.
Trellis Options
Tepee Structures: Three to four poles (6 to 8 feet tall for beans, 5 to 6 feet for peas) tied at the top create a classic support. Plant seeds at the base of each pole. This works well in windy coastal areas because the triangular structure is inherently stable.
A-Frame Trellises: Two panels of wire or netting leaning against each other create easy access from both sides. This design works well in raised beds and makes efficient use of space.
Single Trellises: Poles or posts with horizontal wires or netting attached work well along fences or bed edges. Run horizontal supports every 12 inches so plants have something to grab as they climb.
Existing Structures: Fences, arbors, and even sturdy sunflower stalks can support beans and peas. Just ensure the structure can handle the weight of fully loaded plants, especially after rain.
Material Considerations
String and Twine: Biodegradable twine is inexpensive and can be composted with plant debris at season's end. Run vertical strings from a top wire to the ground, spacing them 6 inches apart.
Netting: Plastic or string netting provides many attachment points for climbing tendrils. Use mesh with openings of 4 to 6 inches so you can reach through to harvest.
Wire Fencing: Concrete reinforcing wire (remesh) creates durable, reusable trellises. The 6-inch grid is ideal for bean and pea tendrils.
How Often Should You Water Beans and Peas?
Proper watering is crucial for legumes, with different needs during different growth stages.
Establishment Phase
After planting, keep soil consistently moist but not soggy until seeds germinate and seedlings establish (about 2 to 3 weeks). Seeds rotting in wet soil is a common problem, so ensure good drainage. In coastal areas with foggy mornings, you may need less supplemental water than you expect.
Growing Phase
Once established, beans and peas prefer deep, infrequent watering rather than shallow daily sprinkles. Our complete watering guide recommends allowing the top inch of soil to dry between waterings, then soaking deeply. This encourages roots to grow deep and makes plants more drought tolerant.
Flowering and Pod Set
Consistent moisture becomes critical once plants begin flowering. Water stress during this period causes blossom drop and reduced yields. Aim to keep soil evenly moist (not wet) from first flower through final harvest.
Mulching
Apply 2 to 3 inches of straw or other organic mulch around established plants to conserve moisture, moderate soil temperature, and suppress weeds. Keep mulch a few inches away from stems to prevent rot.
What Are the Most Common Problems and Solutions?
Even experienced gardeners encounter challenges with beans and peas. Here are the most common issues in Santa Cruz County and how to address them.
Poor Germination
Symptoms: Seeds rot in soil, emerge slowly, or germinate unevenly.
Causes: Soil too cold (for beans) or too wet. Birds or rodents eating seeds.
Solutions: Wait for warmer soil (check with a soil thermometer). Improve drainage with compost. Cover newly planted beds with row cover or wire mesh until seeds emerge.
Aphids
Symptoms: Clusters of small green, black, or gray insects on growing tips and undersides of leaves. Sticky honeydew on leaves. Curled or distorted new growth.
Solutions: Spray plants with a strong stream of water to knock aphids off. For heavy infestations, use insecticidal soap following UC IPM guidelines. Encourage beneficial insects by planting flowering herbs nearby.
Powdery Mildew
Symptoms: White, powdery coating on leaves, especially later in the season. Common in coastal gardens where morning fog creates humid conditions.
Solutions: Improve air circulation by proper spacing. Water at soil level rather than overhead. Remove and dispose of affected leaves. For severe cases, apply sulfur-based fungicide following UC IPM recommendations.
Blossom Drop
Symptoms: Plants flower but pods do not form. Flowers fall off without developing.
Causes: Heat stress (temperatures above 75 to 80 degrees F for peas, above 90 degrees F for beans). Water stress. Nitrogen excess promoting leaves over pods.
Solutions: Plant earlier to harvest before summer heat. Provide shade cloth during hot spells. Maintain consistent watering during flowering. Avoid high-nitrogen fertilizers once plants begin flowering.
Bean Beetles and Leaf Miners
Symptoms: Holes in leaves. Winding trails through leaves (miners). Small beetles on plants.
Solutions: Hand-pick beetles in the morning when they are sluggish. Use floating row covers to exclude pests (remove during flowering if bees are needed for pollination). Healthy plants usually outgrow minor damage.
Poor Pod Fill
Symptoms: Pods are flat, small, or have few beans inside.
Causes: Water stress during pod development. Poor pollination. Nutrient deficiency.
Solutions: Maintain consistent moisture during flowering and pod fill. Ensure adequate phosphorus (bone meal at planting helps). For beans, pollination is usually not an issue since they are self-fertile.
When Should You Harvest Beans and Peas?
Timing your harvest correctly makes an enormous difference in flavor and texture.
Snap Beans
Harvest when pods are firm and snap cleanly but before seeds inside create obvious bulges. For most varieties, this means pods about pencil-thick and 4 to 6 inches long, depending on variety. Check plants every 2 to 3 days during peak production since pods develop quickly.
Shelling Beans (Fresh)
For eating fresh, harvest when pods are fully filled out and just beginning to change color from green. Seeds should be plump but still tender. Fresh shelling beans have a short window between too young and too mature.
Dry Beans
Leave pods on plants until they are completely dry and papery. Seeds should rattle inside. In foggy coastal areas, you may need to pull entire plants and hang them in a protected spot to finish drying.
Snow Peas
Harvest when pods are full-sized but seeds inside are barely visible. Pods should be flat and tender. Waiting too long results in tough, stringy pods.
Sugar Snap Peas
Harvest when pods are plump and seeds are visible but pods still snap crisply. Unlike snow peas, you want the seeds somewhat developed. Taste test a few to find your preferred stage.
Shelling Peas
Harvest when pods are plump and filled out but still bright green. Seeds should be sweet and tender, not starchy. As with all peas, quality declines rapidly after harvest, so pick just before eating for best flavor.
Fava Beans
For fresh eating, harvest when pods are plump and seeds are the size of a thumbnail. Larger seeds become starchy and develop tougher skins. Young favas can be eaten whole, pods and all, when pods are about 3 inches long.
How Do You Grow Beans and Peas by Microclimate?
Each of Santa Cruz County's microclimates offers different opportunities and challenges for legume growing. If you are not sure which microclimate you garden in, start with What Is a Microclimate and How Do I Figure Out Mine?
Coastal Fog Belt (Westside Santa Cruz, Live Oak, Aptos, Capitola)
Advantages: Extended pea season, moderate summer temperatures keep beans producing longer, mild winters for fava beans.
Challenges: Slower bean germination, powdery mildew pressure, reduced heat for some dry bean varieties.
Best Varieties: Early maturing beans like 'Provider' and 'Contender.' Powdery mildew resistant peas like 'Cascadia' and 'Oregon Giant.' All fava bean varieties thrive here.
Timing: Peas from January through April and September through November. Beans from mid-May through July.
San Lorenzo Valley (Boulder Creek, Ben Lomond sunny exposures)
Advantages: Warmer summer days allow heat-loving beans, good frost drainage in many areas, long growing season in sunny spots.
Challenges: More frost risk for fall crops, some areas have poor soil drainage.
Best Varieties: Wide variety selection including some dry beans. Standard bean and pea varieties perform well.
Timing: Peas from February through March and September through October. Beans from late April through early August.
Under Redwoods (Felton, Ben Lomond canyons, shaded areas)
Advantages: Cool conditions extend pea season, reduced heat stress.
Challenges: Limited sun restricts overall production, acidic soil may need amendment, slower drying for harvest.
Best Varieties: Focus on peas and fava beans which tolerate shade better. Avoid long-season dry beans. For more shade-tolerant options, see 9 Vegetables That Thrive in Redwood Shade.
Timing: Maximize sun periods. Peas and favas are your best legume options here.
Inland Valleys (Scotts Valley, Soquel hills)
Advantages: Good balance of warmth and moderate coastal influence, wide variety selection, reliable production.
Challenges: Some afternoon heat stress in summer, variable microclimates.
Best Varieties: Most bean and pea varieties perform well. This is good territory for dry beans.
Timing: Peas from February through early April and late August through October. Beans from late April through mid-August.
Pajaro Valley (Watsonville)
Advantages: Warmest microclimate, longest growing season, excellent for heat-loving beans and dry beans.
Challenges: Earlier summer heat ends pea season sooner, more irrigation needed.
Best Varieties: Excellent area for dry beans including 'Black Turtle,' 'Pinto,' and specialty varieties. Standard pea varieties in spring and fall.
Timing: Peas from January through February and October through November. Beans from mid-April through August with succession plantings.
Storing Your Harvest
Fresh beans and peas are best eaten soon after harvest, but several preservation methods let you enjoy your harvest year-round.
Fresh Storage
Snap beans and peas: Store unwashed in plastic bags in the refrigerator for up to one week. Flavor and texture decline daily, so eat soon.
Shelling beans: Store unshelled in the refrigerator for 2 to 3 days. Shell just before cooking.
Freezing
Blanching before freezing preserves color, texture, and nutrition. National Center for Home Food Preservation recommends blanching snap beans for 3 minutes, peas for 1.5 to 2 minutes. Plunge into ice water, drain, and freeze in single layers before transferring to containers.
Drying
Dry beans store for years when properly dried and stored. Ensure beans are completely dry (they should shatter when hit with a hammer) before storing in airtight containers in a cool, dark location. Add a desiccant packet to absorb any remaining moisture.
Canning
Pressure canning is required for all beans and peas (they are low-acid foods). Follow tested recipes from National Center for Home Food Preservation for safe preservation.
Improving Your Soil with Legumes
Beyond the food they produce, beans and peas offer lasting benefits to your garden soil.
Maximizing Nitrogen Fixation
To get the most nitrogen contribution from your legumes, ensure proper inoculation with rhizobia bacteria. While these bacteria exist in most soils, adding fresh inoculant to seeds before planting ensures robust nodule formation. Check for nodulation by carefully digging up a plant mid-season and looking for small pink nodules on roots. Pink or red coloring indicates active nitrogen fixation; white or gray nodules are inactive.
Turning Under Legume Residue
After harvest, you have two options for handling plant residue. You can cut plants at soil level and leave roots in place, allowing them to decompose and release nitrogen gradually. This works well if you are planting a fall crop immediately. Alternatively, turn entire plants under with a garden fork, incorporating foliage and roots into the top few inches of soil. UC Integrated Pest Management recommends waiting 2 to 3 weeks after incorporating fresh green matter before planting the next crop to avoid nitrogen tie-up during decomposition.
Rotation Benefits
Following beans and peas with nitrogen-hungry crops like corn, squash, or leafy greens takes advantage of the nitrogen left behind. A classic rotation puts legumes before heavy feeders, then follows with root crops and finally back to legumes.
To follow either crop through its season, see our bean growth stages and pea growth stages guides.
Frequently Asked Questions
Why are my bean seeds rotting instead of sprouting?
Bean seeds rot when soil is too cold or too wet. Wait until soil temperatures reach at least 60 degrees F (use a soil thermometer to check). Improve drainage by adding compost, and avoid overwatering before emergence. In coastal Santa Cruz, mid-May is often the earliest reliable planting time for beans.
Can I grow beans and peas in the same bed?
Yes, but they have different timing and temperature needs. Peas prefer cool weather (plant late winter through early spring, then again in fall) while beans need warm weather (plant late spring through summer). You can succession plant, following spring peas with summer beans in the same bed.
How do I know if my legumes are fixing nitrogen?
Carefully dig up a plant mid-season and examine the roots. Look for small nodules (bumps). If the nodules are pink or red inside, nitrogen fixation is occurring. White or gray nodules indicate inactive bacteria. Using fresh inoculant at planting improves your chances of active nodulation.
My peas flowered but no pods formed. What happened?
Blossom drop usually indicates heat stress. Peas stop setting pods when temperatures consistently exceed 75 degrees F. Plant earlier in spring to harvest before summer heat, or focus on fall plantings that mature in cooler weather. Consistent watering during flowering also helps prevent blossom drop.
Should I fertilize my beans and peas?
Legumes generally need little fertilizer because they fix their own nitrogen. Avoid high-nitrogen fertilizers, which promote foliage at the expense of pods. A modest application of balanced fertilizer at planting or some compost is usually sufficient. Phosphorus (bone meal) supports root development and nodule formation.
Why are my beans tough and stringy?
You are harvesting too late. Snap beans should be picked when pods are still tender and snap cleanly, before seeds create obvious bulges inside. Check plants every 2 to 3 days during peak production. Once pods become stringy, they are best left to mature as shell beans or dry beans.
Can I save seeds from my beans and peas?
Yes, beans and peas are excellent choices for seed saving because they are self-pollinating and rarely cross with other varieties. Allow pods to dry completely on the plant, then harvest and store in a cool, dry location. Properly stored seeds remain viable for 3 to 4 years.
Are fava beans worth growing if I do not like eating them?
Absolutely. Fava beans are one of the best cover crops for home gardens, fixing nitrogen, breaking up compacted soil with their deep taproots, and providing winter ground cover. Even if you never eat a single bean, the soil benefits make them worthwhile. Cut plants down before they set seed and turn them under to release nitrogen for your summer garden.
Free Resources
Download these helpful guides from Your Garden Toolkit:
Seasonal Planting Calendar: Month-by-month planting guide for Santa Cruz County including optimal bean and pea timing for each microclimate.
Companion Planting Guide: Learn which crops grow well alongside beans and peas, including the classic Three Sisters planting method. For more pairing ideas, see What to Plant Together in Raised Beds.
Garden Troubleshooting Guide: Quick reference for identifying and solving common garden problems including legume-specific issues.