

How Do I Set Up Drip Irrigation for Raised Beds?
A few of the product links in this guide are affiliate links. If you buy through one, Ambitious Harvest may earn a small commission at no extra cost to you, which helps keep these guides free. We only point to gear we would use in our own Santa Cruz garden. As an Amazon Associate, we earn from Read our full disclosure.
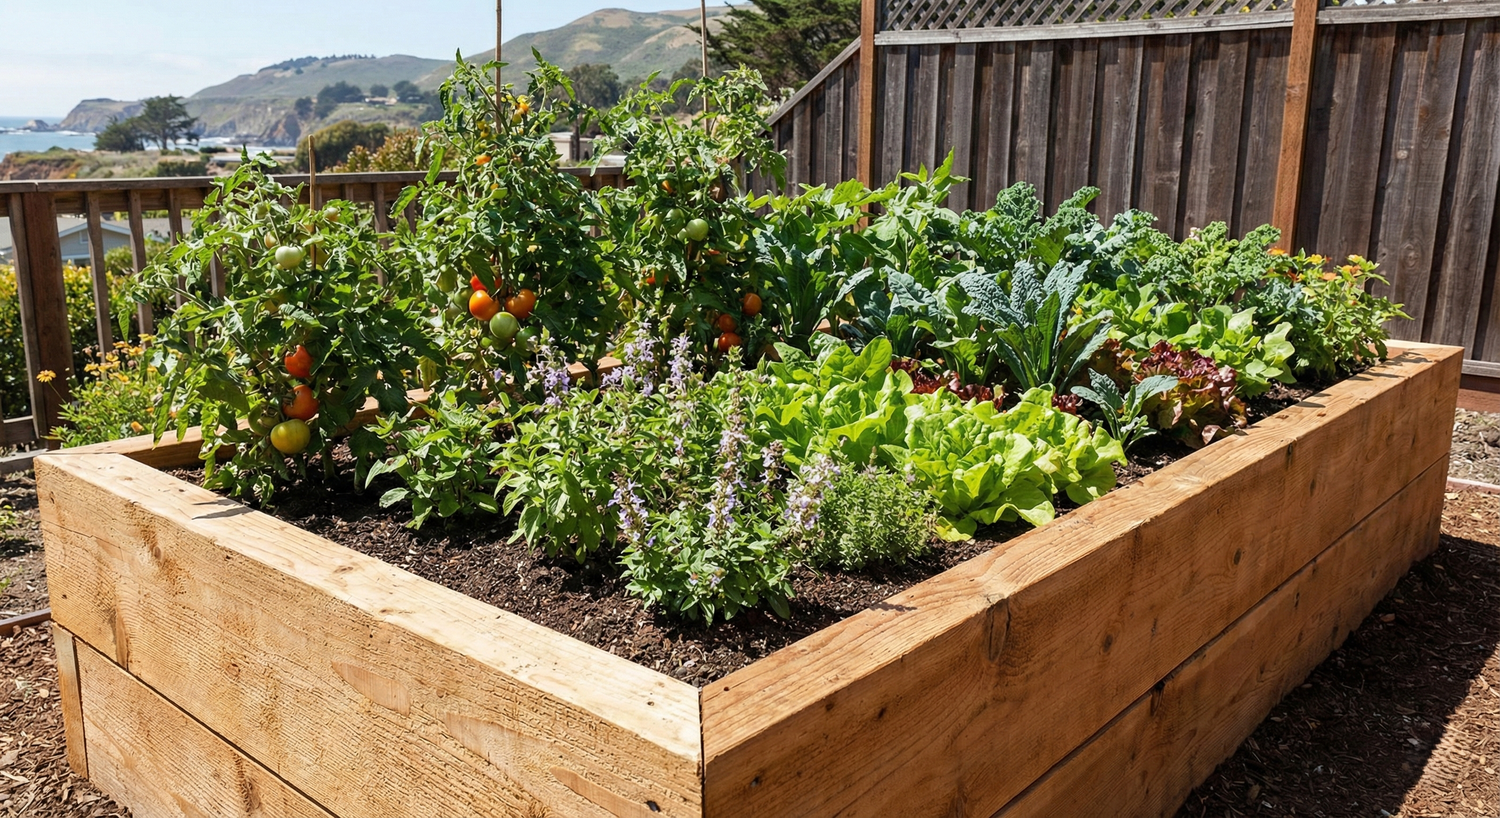
Start with four components: a timer, a pressure regulator, half-inch mainline tubing, and quarter-inch drip emitters or emitter tubing. Once connected, a basic system takes about 30 minutes per bed to install and saves you hours of hand-watering all summer.
Attach the timer to your hose bib, then connect a backflow preventer, a filter, and a pressure regulator (set to 25 psi for drip systems). Run half-inch mainline tubing along the length of your bed, then branch off with quarter-inch emitter tubing spaced about 12 inches apart across the bed. For vegetables, half-gallon-per-hour emitters spaced every 12 inches work well. UC Agriculture and Natural Resources recommends drip irrigation for vegetable gardens because it delivers water directly to roots, reducing evaporation and disease from wet foliage.
In Santa Cruz County, you can find drip supplies at local hardware stores or irrigation specialty shops. DripWorks in Willits ships quickly and carries kits designed for raised beds if you want everything in one box. When shopping, look for UV-resistant tubing since our summer sun degrades cheap plastic fast.
Set your timer for early morning (before 7 a.m.) to minimize evaporation. Most raised beds in our climate need 20 to 30 minutes of drip irrigation every other day during summer, but check your soil moisture by pushing a finger 2 inches into the soil. Sandy soil in Pajaro Valley dries faster and may need daily watering; heavier soils on the Westside hold moisture longer.
One common mistake: running the system without walking the lines. Emitters clog, connections pop loose, and tubing kinks. Run a test before you plant and check monthly.
This week: Lay out your mainline tubing in your raised bed and let it sit in the sun for an hour. Warm tubing is flexible and much easier to work with than cold, stiff tubing straight from the package.
Our free Water-Wise Gardening Guide covers drip setup, mulching strategies, and irrigation scheduling for Santa Cruz microclimates. For more seasonal watering tips, see our summer garden watering guide.
Keep Reading
- How Often Should I Water My Vegetable Garden?
- Water-Wise Gardening Tips for Santa Cruz
- What Is Blossom End Rot and How Do I Prevent It?
- How Deep Should a Raised Bed Be for Vegetables?
Frequently Asked Questions
What basic parts do I need for a raised-bed drip system?
You need a timer at the hose bib, a backflow preventer, a filter, and a pressure regulator (set around 25 psi), plus half-inch mainline tubing and quarter-inch emitter lines. Half-gallon-per-hour emitters spaced along the bed work well for vegetables.
How often should I run drip irrigation in summer?
Most beds need about 20 to 30 minutes every other day in summer, ideally before 7 a.m. to limit evaporation. Sandy soils like those in the Pajaro Valley may need daily watering, while moisture-retentive Westside soils can go longer between cycles.
Why does my drip system clog or fail?
The most common cause is not walking the lines before relying on the system. Run a test before planting to catch clogged emitters, loose connections, and kinks, then check the lines monthly through the season.